This post brought to you by Duck Brand provided by ShurTech Brands, LLC. All opinions are 100% mine.
Festive Tape
Decorative tape has become quite popular these last few years. Mostly, you hear about washi tape, but it’s not the only thing out there. Take a look at these holiday designs from Duck Brand®.
Duck the Halls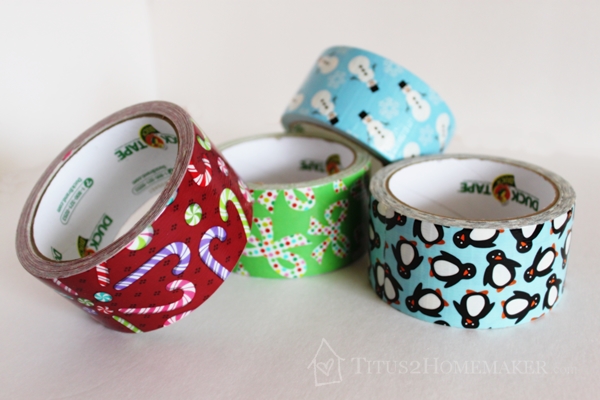 Imagine the possibilities! I used some to seal a package that was being shipped, just to make it a little more fun. You could wrap serving stands (like cupcake stands) in it to give them a festive flair. Make a pouch (like the one in this YouTube tutorial). In fact, tutorials abound for things that can be made from this type of tape. Which ones can you think of holiday uses for?
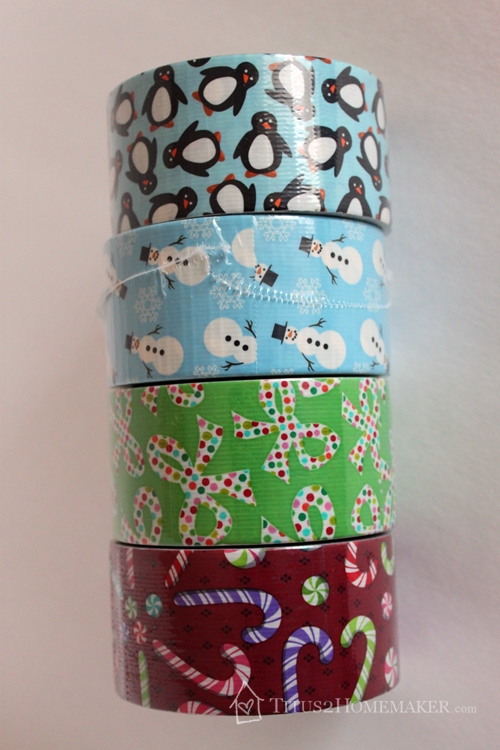
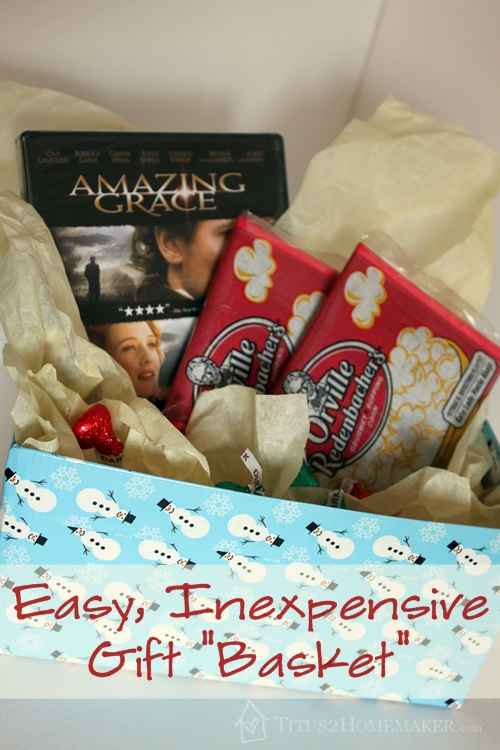
A Gift Box
I decided to upcycle a bit of my (otherwise-)trash by making this inexpensive, easy container to use for a small gift basket. All I used was an empty tissue box and a little bit of Duck Brand® tape. (If you are presenting a larger gift, you could easily just substitute a bigger box. You just might need more rows of tape. 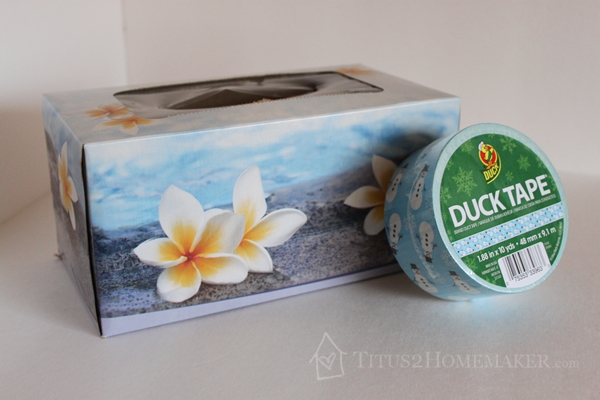
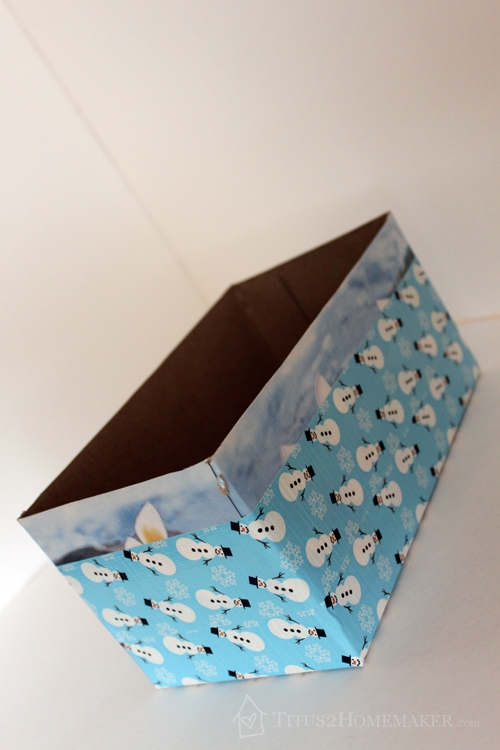
Step 1: Trim the Box
You’ll need to cut off the top of the box. I find it easiest to do this by cutting diagonally into all four corners and then trimming off the resultant “flaps.” 
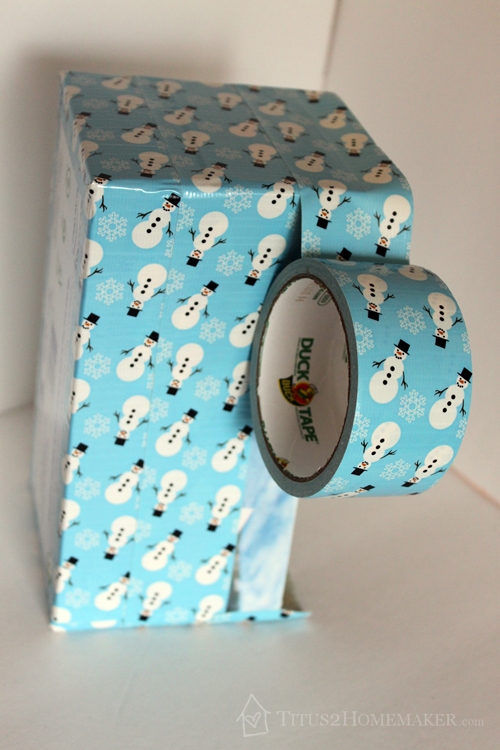
Step 2: Apply the first row of tape.
Starting at one corner, and with a little bit of the tape’s width extending beyond the bottom of the box, wrap the entire circumference of the box with tape. (See the picture if this isn’t clear.) 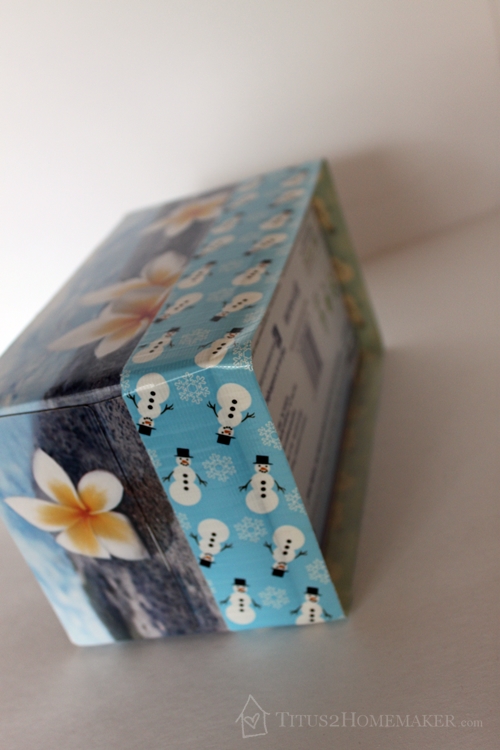
Step 3: Trim the corners
Cut a notch out of each corner. You can cut the piece out completely, or you can leave it attached by a very narrow section and just fold it down like I did here. (My scissors weren’t very sharp, so they kept not wanting to cut all the way through. This worked fine, though.) 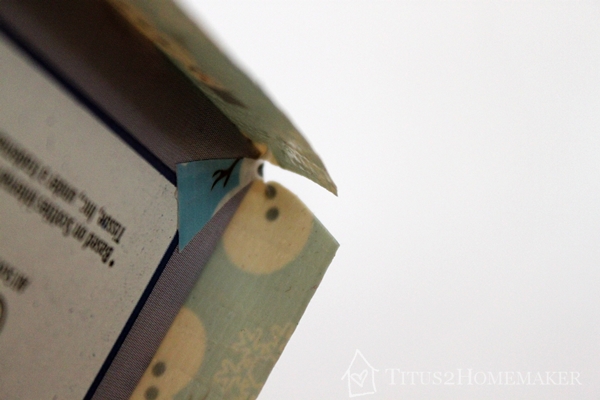
Step 4: Fold the sides down.
Now that your corners are trimmed, you can neatly fold in all four sides and stick them to the bottom of the box.
It should look something like this: 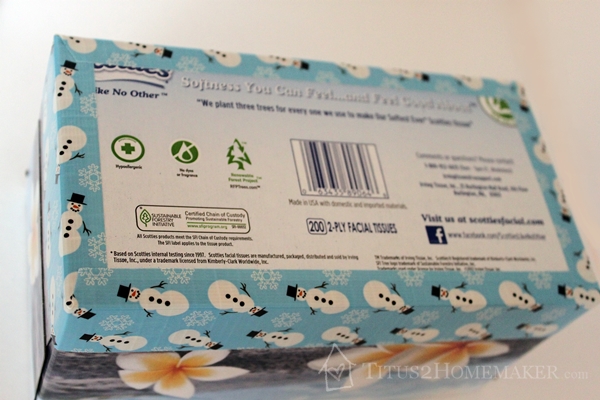
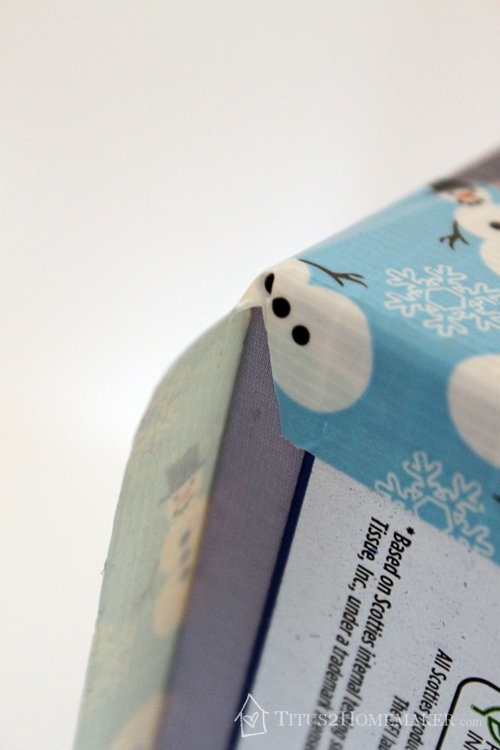
Step 5: Wrap the next band of tape.
Starting at the same place you started the first row, wrap another band of tape around the box, very slightly overlapping the first.
Step 6: Wrap the final band of tape.
If your box is the same size as mine, the third row should be the final row of tape, and it should extend a little past the top of the box. Be sure to start in the same spot you started the first two rows. Here you can get a little peek at how I wrapped the tape. After adhering the very first bit of a side, I’d unroll the tape far enough to cover that whole side, then line it up and stick it all at once. This helped me keep it pretty straight.

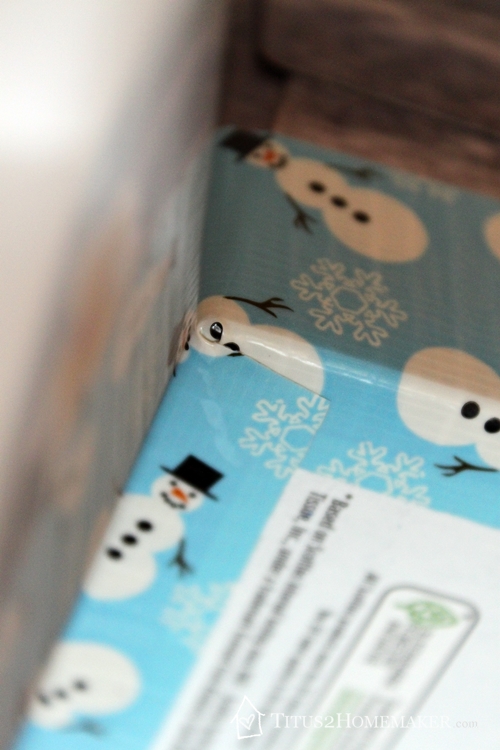
Step 7: Trim the corners.
You’re going to notch the corners just like you did at the bottom of the box. Except this time, you definitely want to ensure the little notch pieces are just cut off entirely. 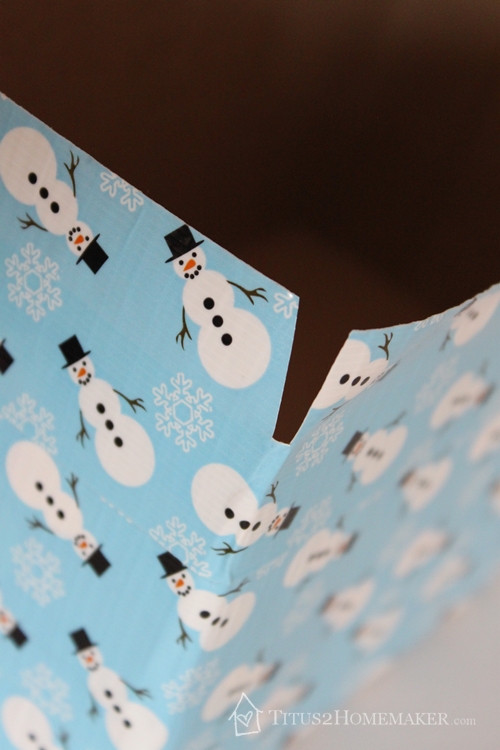
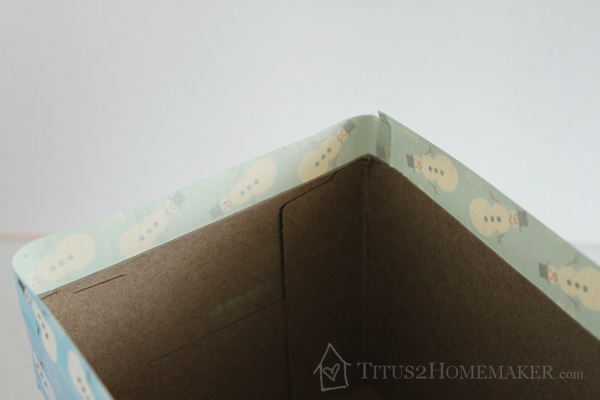
Step 8: Fold the edges under.
Fold the sides of the tape to the inside of the box and adhere.
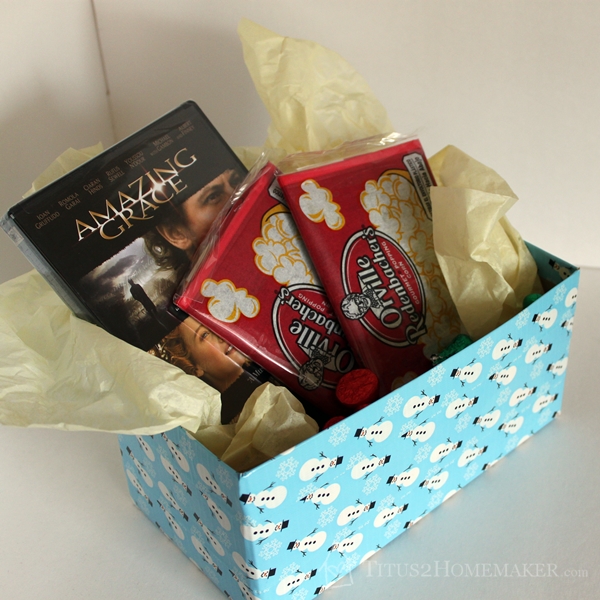
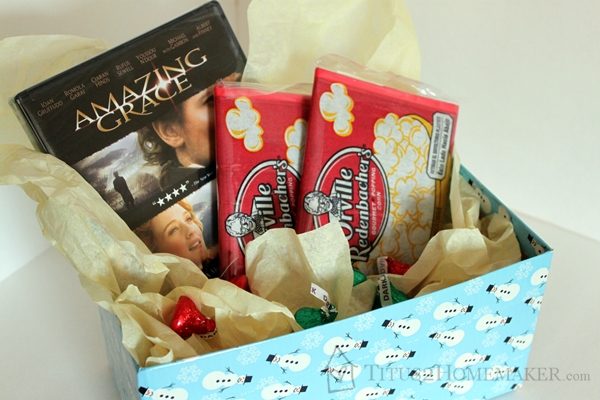
 The Finished Box
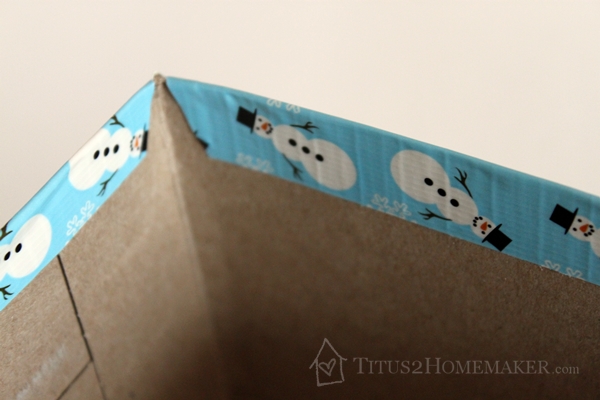
And here you can see the finished box. Looks nice, right? 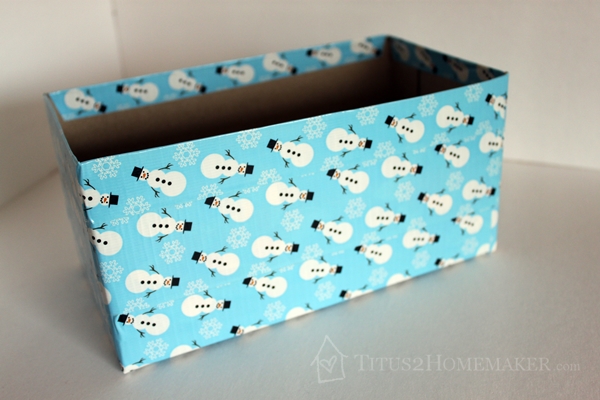 I had you start and end at the same place every time so that all of the “seam” would be in the same place and you could make that the back if you wanted. But, honestly, if you do it neatly, it’s not all that noticeable. I actually had to go looking for this corner so I could take the picture!
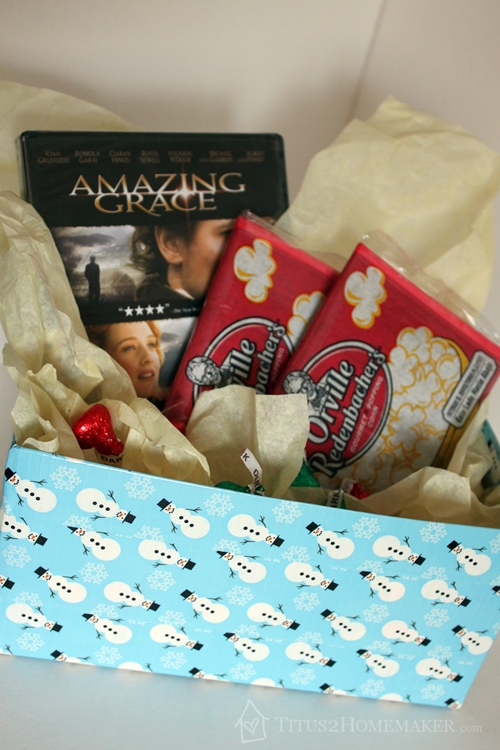
Then fill the box with your goodies! For an inexpensive family gift, you can throw in a couple bags of popcorn and a $5 DVD.
For more inspiration, follow @TheDuckBrand on Twitter, and be sure to tweet your own creations with hashtag #DucktheHalls!
This post is being shared at Whip it Up Wednesday, Wonderful Wednesday, Titus 2 Tuesday, 20 Below Thursday.
Need more pictures to Pin?
[…] Easy, Inexpensive Gift “Basket” {tutorial} by Titus 2 Homemaker […]