
This tutorial is coming quite late for this season. I had the templates ready well in advance, but then couldn’t find the labels and tags locally, except at Staples — who wanted twice as much for them as anywhere else. So I had to order them and wait for them to be shipped. Maybe, like me, you can jump on these now so they’ll be sure to be ready for next year’s Advent Scripture readings. 🙂
Why We Chose Advent Scriptures
I posted a year ago about our Advent calendar. The idea behind it was two-fold:
1) We wanted to cover up the nativity scene, and uncover it bit by bit as the month wears on, with the culmination being that baby Jesus appears in the manger overnight on Christmas. (I wanted the kids to be looking forward to something meaningful on Christmas morning, not just to opening presents.)
2) We wanted to add to the anticipation by reading Messianic prophecies each day throughout December, so we could get a little taste of what it was like for the ancient Jews to keep hearing promises of the Messiah, and still be waiting. This is the part we didn’t get to last year, and what I’m showing you today.

Assembling the Scripture Verse Tags: The Nutshell Version
I came up with the list of verses (the “Christmas story” is notoriously absent, as we read that on Christmas morning), and set up a couple of templates with the references on round labels.
There are also small numbers on the tags, as reminders of which days they go to.
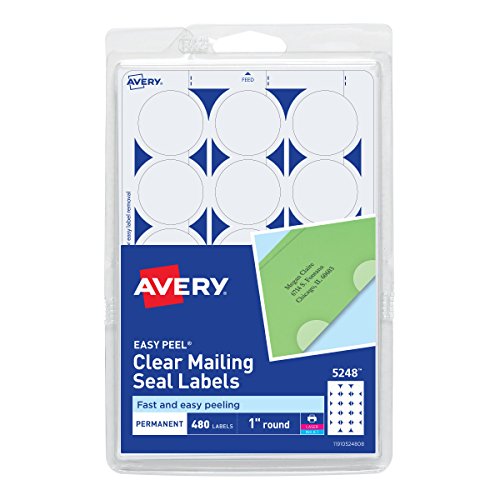
The short version is this: Use 1″ clear or white Avery round labels, #5247
or #5248
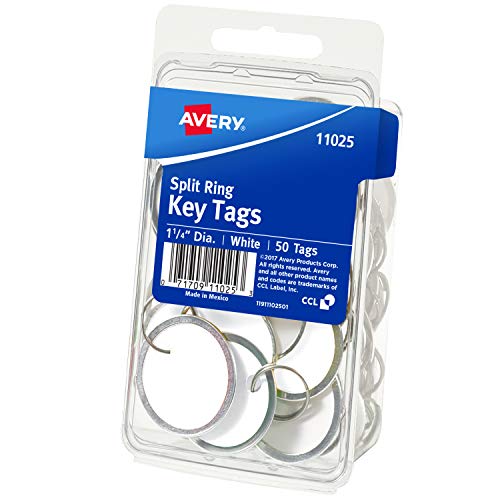
. Print out the labels with the PDF templates below. Adhere them to 1-1/4″ Avery metal-rimmed key tags
, #11025
.

Assembling the Scripture Verse Tags: The Longer Version
But you probably want a little more detail than that, so here’s the longer version. 🙂
1. Download the templates at the bottom of this post. These are designed to be printed on the Avery mailing labels linked above.
2. Print the labels. The PDF’s are 4×6″, as are the label sheets. Be sure that your printer settings are right, so it knows you’re using 4×6″ paper! Most printers nowadays will print to 4×6″ just fine (because they’re set up to do photographs), but you have to make sure the settings are right.

3. Adhere each label to a metal-rimmed tag. You might want to take the hanging rings off first (because a later step is easier without them). They’re split rings, so they just come off like taking keys off a key ring.


4. Now the only downside to these is that the labels aren’t made to accommodate the holes in the tags. The neatest way to address this is probably to punch the “extra” part from the label with a hole punch. However, it’s not a standard hole punch size, so most of you probably don’t have a punch of the proper diameter.
Short of this, I obtained the most pleasing results by using a blade (X-Acto knife, razorblade, tip of a box cutter – that sort of blade) to cut an X into the part of the label that’s over the hole. I then pushed the tip of a pen through the hole from front to back, removed it, and used my fingernails to fold down the edges that now stuck out the back.
5. At this point, you can replace the split rings.
Using the tags for Advent Scripture Readings
We are hanging these on our Advent calendar behind the tags that indicate each day. If you have a different type of calendar, you could hang them – or tuck them – on whatever you’re using. Or you could use the labels without the tags and adhere them to the ends of wooden spools or something else.
Only the Verses: Advent Scriptures to Print
If you just want the list of verses, you can download that, too.
You put a lot of work into this, Rachel! I really like it!
Thank you! The kids have really been enjoying it. Well, except for Caleb, who is still young enough that he doesn’t understand why he’d want to sit and listen. 🙂