It’s been a long couple of months. Not only has there been the adjustment to school, and the necessary focus on schoolwork that brings along with it, there have also been some changes that require my attention (you may notice I’ve been in the process of switching all my Simply Aroma content over to Améo — this is not as simple or straightforward as you might think).
It has also been a spiritually and emotionally tough couple of months. When I get discouraged, it’s hard to write — because you probably wouldn’t want to read anything I had to say at that particular moment! I tend to forget, since we aren’t in full-time church ministry anymore, that we are still on the front lines as my husband and others close to us fight for the family as we know it, and we would welcome your prayers as the spiritual attacks are very real!
And I’ve been working “behind the scenes” on an upcoming project, which I hope will be a real blessing to many people, but which requires time and attention and doesn’t produce content for the blog at the moment.
All of that is to say that I hope you’ll bear with my sporadic posting and have grace for my decreased focus for a little while. But now, on to today’s post…Henna for hair.
What is Henna?
First of all, let’s have a bit of a crash course in what henna is, because many of you may not know.
Henna is a plant, Lawsonia inermis, that happens to contain a reddish-brown/orange dye. If you’ve ever seen Indian women with the decorative “tattoos” on their hands, you’ve seen henna — it’s the very same dye. Henna is excellent for the hair, conditioning and strengthening (it can even kill lice!), and also acts as a red dye.
You’ll often see henna blends that produce different shades. These are not 100% true henna. Rather, they are typically henna blended with Indigofereae (often referred to as “black henna”) and/or Cassia obovata (often referred to as “neutral henna”). Although indigo and cassia aren’t technically henna, they can be mixed-and-matched with true henna to produce a broader variety of colors. (Do note that “black henna” isn’t actually black; it’s blue-green. It has to be combined with henna — preferably by layering — to produce black.)
Henna coats the hair shaft in a translucent manner, so it never lightens the hair; it merely adds a red tone. This means that light hair will end up looking more red, while dark hair will have more of an auburn appearance. Multiple applications can build the henna up in layers, making it deeper and redder.
Henna Application
Applying henna is kind of a messy process. You mix the ground herb with warm water to form a mud-like mixture, then apply this “mud” to clean hair, first coating the hairline with oil so you don’t dye your face, ears, or neck orange. Then you cover it with plastic wrap or a shower cap and let it sit for one or more hours — depending on how deep a color you’re hoping for — before rinsing it out thoroughly.
The freshly-applied henna will have a brighter, oranger, brassier tone, but it will oxidize over the following day or so and the color will deepen and mellow. (This is the same basic process as when an apple darkens upon exposure to air.)
The henna has a distinctive odor. I think it smells a lot like hay in a barn and don’t mind it while it’s being mixed or sitting on my head, but find it a bit overpowering and gross while I’m getting it applied. Some people find it offensive, so they add spices like ginger to the mixture to help mediate the odor.
I’ve taken some pictures of my process so you can see. (I would have liked to have such a photo journal to look at before I tried it this first time, myself!)
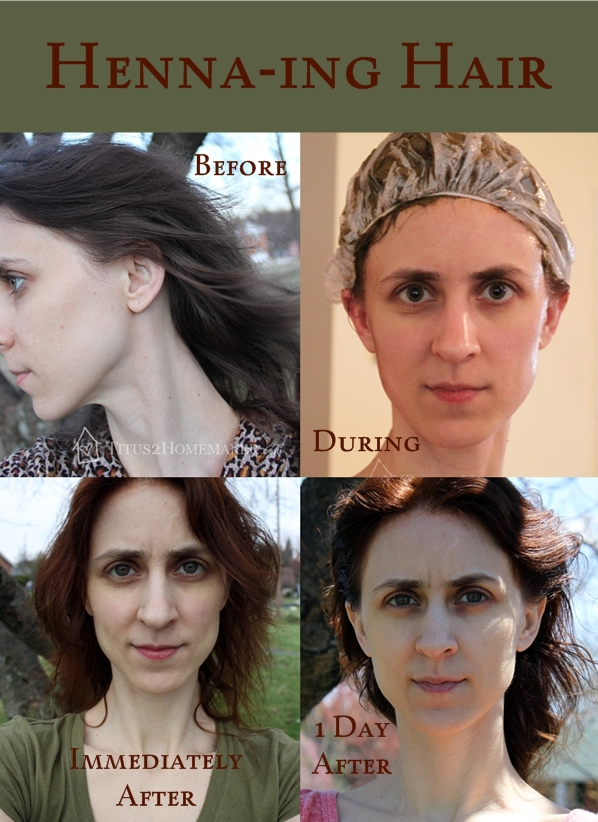
Before
This is what my hair looked like before.

I know, the picture’s a little weird. That’s what you get when you have lots of wind and no helper available. But all you need to see is the color, right?
The Process
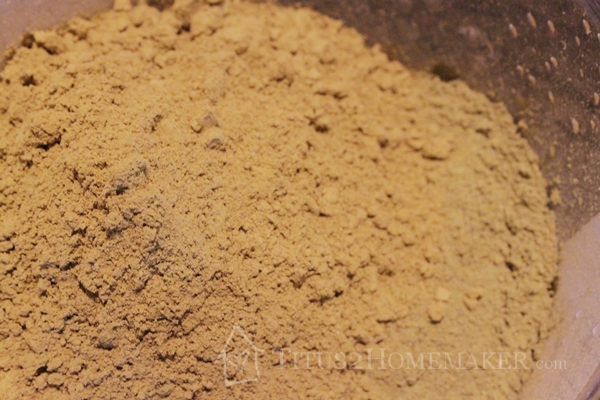
The first step is to mix up the “mud.” I didn’t want 100% straight henna, so I added a little cassia. I was highly unscientific about the whole thing. I used about 1/3 of a (4-oz) package of Rainbow Research “neutral henna” and a 50-gram packet of Hannah pure henna. I don’t know how well you can see it in this photo, but at the far right of the container, you can see the cassia — the color is a little different.
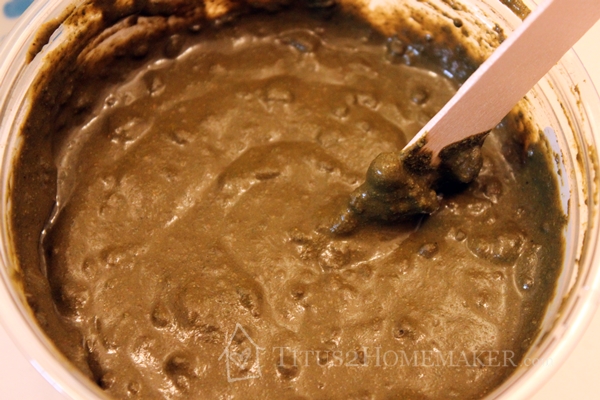
I mixed it in an old plastic food container — this particular one is a tub I purchased almonds in — with a tongue depressor. (I have heard non-metal recommended; I’m guessing the metal interacts with the henna in an undesirable way. And of course the henna may stain anything plastic you mix it in or with, so you won’t want to use your “good” utensils.) With hot water added, it becomes this:
I don’t have any photos of the actual application. I used this stuff:
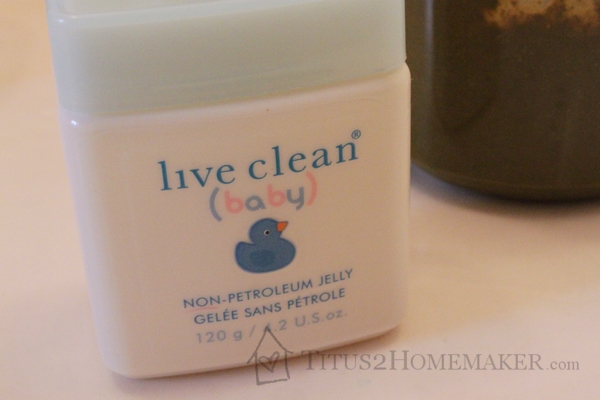
…to coat my ears and around my hairline so I wouldn’t dye them orange. Then I hung upside-down over the tub and basically “scrubbed in” the henna sludge just like I would have done with shampoo. The only real difference is that it’s thicker/there’s more of it. I used the gloves that came in the Hannah package (so my hands wouldn’t turn out orange) scooped up handfuls of the mixture, and then “scrubbed them in” all over my head. I had Ariel hang out with me so she could let me know if I was missing spots. (As far as I can tell, the only spots that did get missed were a couple small pieces right at my ears, where I accidentally got the non-petroleum jelly on the hair itself so the henna couldn’t get to it.)
When all that was done, I piled the ends up on top and put the shower cap over everything.
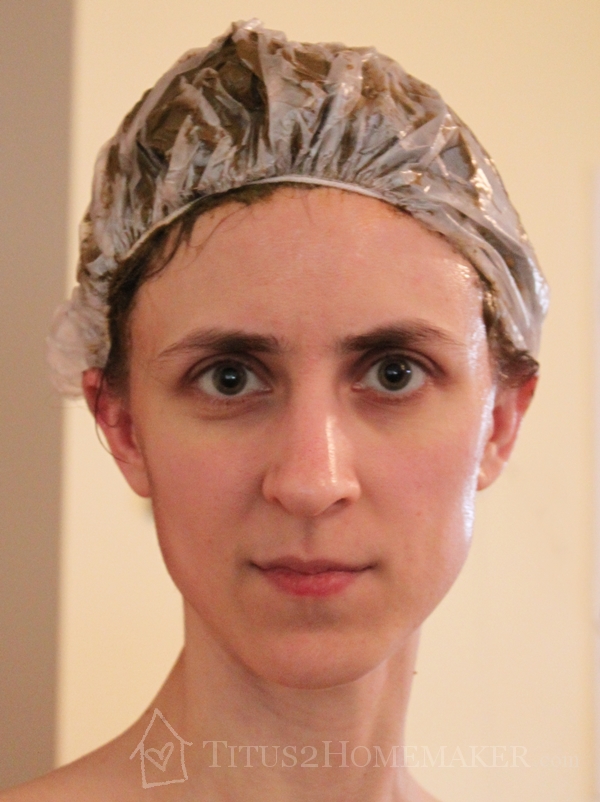
And waited for two hours. The waiting time is somewhat discretionary. At least 90 minutes is recommended. The longer you leave it on, the stronger the color…to a point. But I’m told that layering the henna makes for stronger color. So, for instance, two 2-hour applications should result in stronger color than one 4-hour application. Anyway, I went with two hours, so two hours after piling this stuff onto my head, I headed back to the bathtub to rinse it out.
I’m pretty sure this is one of the most unflattering photos of myself ever posted on this site. Nothing like hanging upside down to let all the blood rush to your head! This is at the very beginning of the rinsing process, so you can still see where most of the “henna mud” is clumped in my hair.
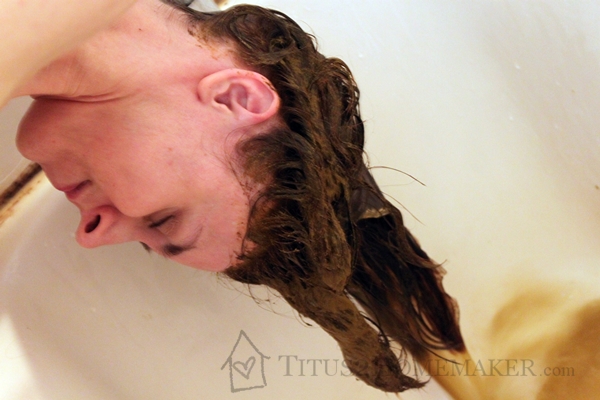
My daughters had been pretty skeptical that something that started out green could dye my hair red, but it was a little more obvious at this stage. As the henna rinses out, it looks a little like super-strong tea.
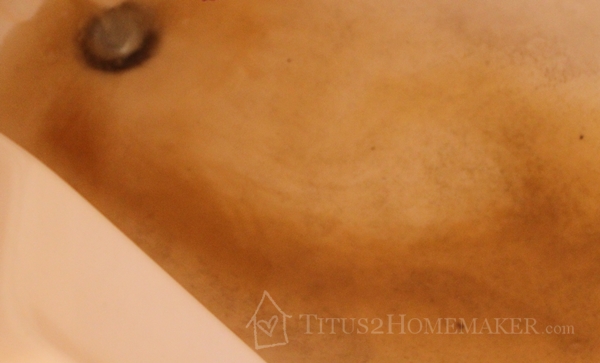
After rinsing it as well as I could just under the faucet, I then went ahead and shampooed it to remove the last of the grit.
After
This is what it looked like immediately afterward…

…and after drying:

After oxidizing for a day or so, it settled in to a deeper auburn, like this (pardon the squint):

Your hair color (and you) is beautiful after the henna treatment! Thank you for sharing!