
I have an office space in the house. It contains a desk, file cabinet, bookcases, etc. It’s set up with an inbox and a to-file basket, and other necessities for keeping paper flow in order. Unfortunately, I never use it. (I haven’t figured out why yet. It might just be too dark down there. Or maybe my desk chair is too uncomfortable. One of these days I’ll figure out what the problem is and fix it. Maybe.)
Instead, I’ve been sitting on my bed (or maybe at the dining room table, but usually on the bed) to work. As a result, I ended up with this:
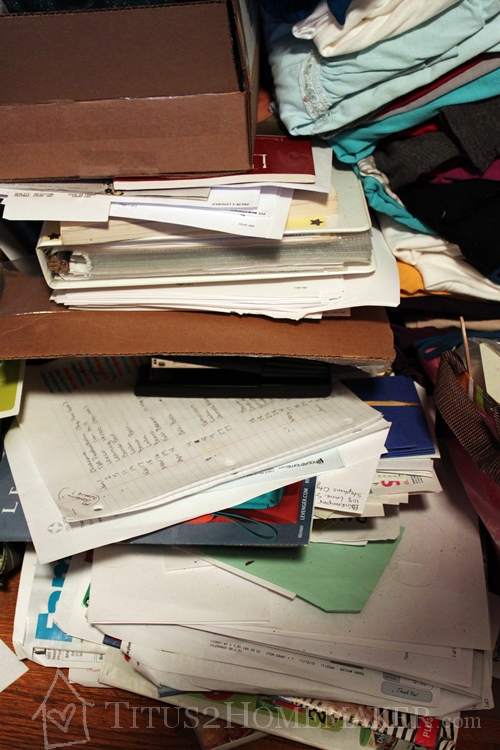
See, it’s a long way from my bedroom to the office at the far end of the downstairs. Who wants to make that trip every time there’s a paper to go in the to-file box? (Hint: not me!) So papers weren’t getting filed (or handled at all, if they needed to be in the inbox), I couldn’t find anything, and I couldn’t get into my dresser (because this pile is sitting in front of it).
Maybe you don’t have a paper pile like this, but if, like me, you work in more than one part of the house, you might benefit from a “mobile office.” This is what I decided to set up to give myself portable versions of my inbox and other key folders. I still have the downstairs set up, but this way I can work with papers wherever I am, and then carry the whole thing to the office and transfer things to the main inbox, filing box, etc., without having to sort every individual piece of paper again!
The File Tote (from Jamie Raquel)
Jamie Raquel helped in this effort by setting me up with one of their fabulous LifeSTYLE file totes, which you’ll see throughout the remainder of this post.

These file totes are awesome. Of course, they look a lot better than a standard file box from the office supply store. The hardest part was deciding which color to choose! The attractive color and design certainly make these more fun to use and nicer to have sitting around the house.
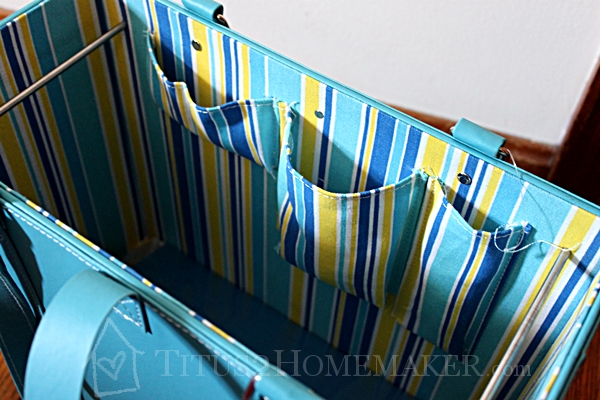
But it’s not all about appearances, either. This is styled, and carries, like a tote. It’s much more comfortable, and feels less bulky to me than carrying a file box. But the exterior is rigid, so it stands up and it stays open.
A strap that snaps across the top keeps things from falling out, but (of course) unfastens when you need to access the contents. And there are pockets in the lining so you can keep things like pens, pencils, and sticky notes handy. Rods are installed to hold hanging files.
The Mobile Office
So I grabbed the file tote and some pretty file folders (these are from Staples), and got to work.
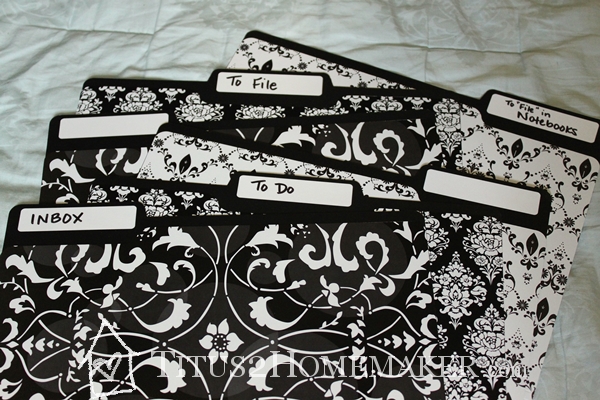
In the image above you can see the categories I used. Your categories might be different, although most people will probably want to have the “inbox” and “to file” folders. I’ve used these in the file tote as follows.
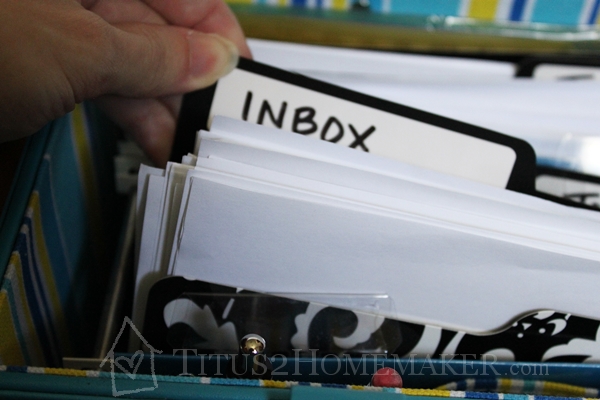
INBOX
The inbox. It’s in all caps purely because that’s how my inbox folder is named on my computer desktop so, for me, it’s consistent. Any paper that will need to be dealt with goes in here first (unless I already know it’s to be filed). This way everything is in one place (well, sort of – because there’s the main inbox on my actual desk) when it’s time to sit down and do office work.
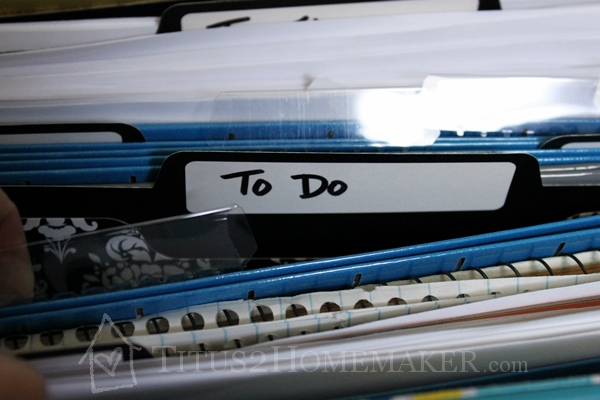
To Do
Next is the “to do” folder. I’m not sure how to succinctly explain how this differs from the inbox. It makes sense in my head, intuitively, but it’s hard to express. This is items that I already know what to do with, but I need to do them all at once. For instance, when Stonyfield had its rewards program, I would save the peel-off lids with the codes in here until I was ready to go to the Stonyfield site to enter them.
So there are no decisions to be made on these. Also, in most, if not all, cases, these are items that will be thrown out once I’ve done what needs to be done with them, so they’re not exactly papers to be processed, in the classic sense.
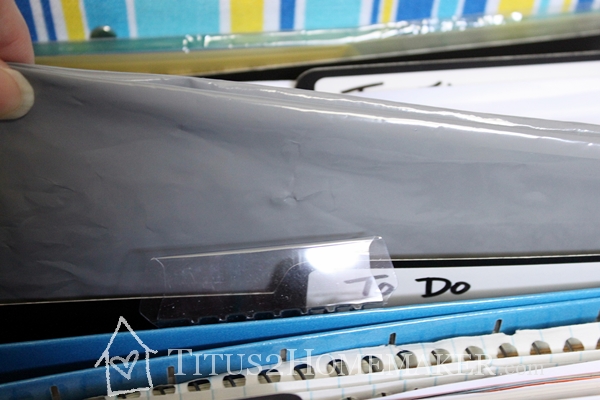
Behind this folder, but in the same hanging folder, I’ve placed one of my envelopes from the Small Business Knowledge Center, with the excess folded over so it’s the right height. Certain types of junk mail get sent into them for points, and it’s easier to just drop them straight into here when they arrive in the mail.
Blank Paper
The next folder is unlabeled. It simply holds blank paper of various types and sizes, so I’ll have it on hand.
(The folder behind that is currently unused.)
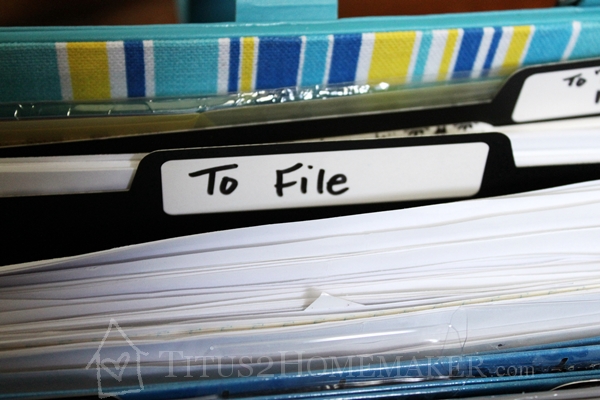
To File
The “to file” folder is just what it sounds like: papers that I don’t need to do anything else with; just file them. If I have something exceptionally large (like if a PR company sends their paperwork in its own folder), I tuck it behind the folder but still inside the hanging folder.
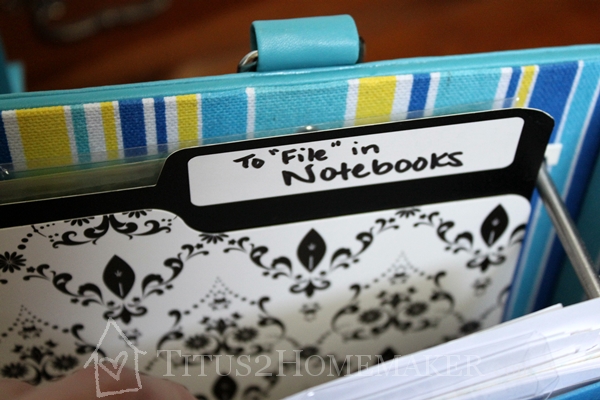
(To “File” in) Notebooks
This last category is probably unique to me. I love to store “filed” papers in binders rather than file folders. I just find them much easier to flip through. It’s not practical for the majority of things, of course, so I do have a standard filing system. BUt I have a number of notebooks that store various types of information: natural health, craft ideas, instruction manuals, etc. And of course there’s my homemaking binder.
I used to just put these papers all in my “to file” basket, but I found I was doing an inordinate amount of sorting just pulling out the things that don’t even go in the file cabinet, so I’ve made it a separate folder here. Anything that gets “filed” in a notebook rather than the filing cabinet goes here. (If it’s bulky, like a thick instruction manual, I tuck it behind the folder.)

All the Rest
I keep a pen, a pencil, and a pad of sticky notes in the pockets so they’re always available. A mini-stapler might not be a bad addition, either. (I’d love to keep the three-hole punch here, but it’s a bit bulky! Fortunately, having the “notebook” stuff separated helps with that, too. I can just pull out the three-hole punch when I’m ready to tackle that stack.)
So far, this is working for me.
How do you handle paperwork around the house?
This post is being shared at Works for Me Wednesday, Penny Pinching Party.
Leave a Reply