More and more – especially since the advent of Pinterest – good blogging involves learning to take good pictures. (I certainly don’t claim to be among the best, but I’m learning and improving!) And a big photography essential is backgrounds. Now, there are some gorgeous commercial backgrounds out there, but I don’t have that kind of cash. And I wanted/needed something easy to carry around and store. These super-inexpensive boards are what I came up with.
Making the Backgrounds
For each board, you will need:
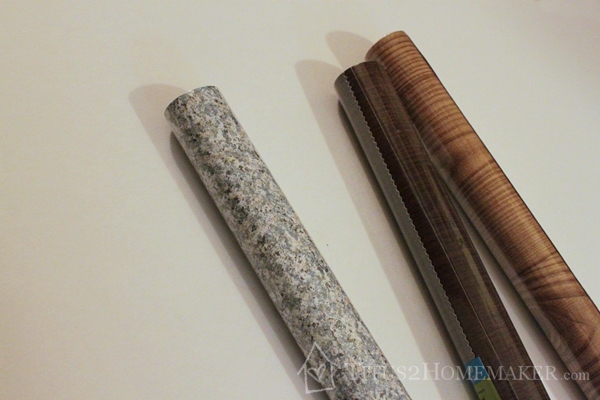
- a sheet of foam core board (Mine came from Dollar Tree.)
- a roll of self-adhesive shelf paper in your preferred design (These also came from Dollar Tree. If you don’t mind spending a little more, though, you can get a plethora of other designs.)
That’s it. Really. (Well, except for a pair of scissors to cut the shelf paper, but I assume you already own a pair of scissors.) And an extra pair of hands is really helpful if you can convince someone to help you for about five minutes.
Now pay super-close attention, because this is really, really complicated.
Cut the shelf paper to the right length, remove the backing, and stick it to the foam core board.
Oh, wait. That wasn’t complicated at all. That’s all there is to it, though. Now, it is a bit tricky to get the shelf paper on smoothly if you’re doing it by yourself. (I know; I tried.) But if you can get someone else to hold the end so it won’t just “fall” onto the board while you smooth it, it’s not very hard and it doesn’t take long at all.
My cheapie dollar store shelf paper wasn’t quite wide enough to cover the width of the board – but almost. One more strip a couple inches wide finished it off, but then the shelf paper was more-or-less gone. So there’s not a lot on a roll. (But I didn’t need any more than that, so I’m good.) You can put different paper on each side of the board to double up on space.
And it’s probably best to trim the edges when you’re done. If the shelf paper sticks off, it tends to stick to things, and then it kind of wants to peel back off. But I haven’t gotten around to trimming mine yet, and they still work. 😉
The Finished Boards
Now, these are not perfect. The foam gets some little “compression” dents in it – and I got a hair or two trapped under the shelf paper. Oops. If you look at the right angle, you can see all of these imperfections.
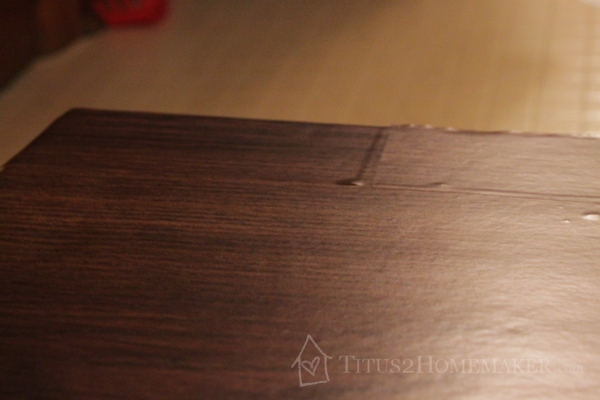
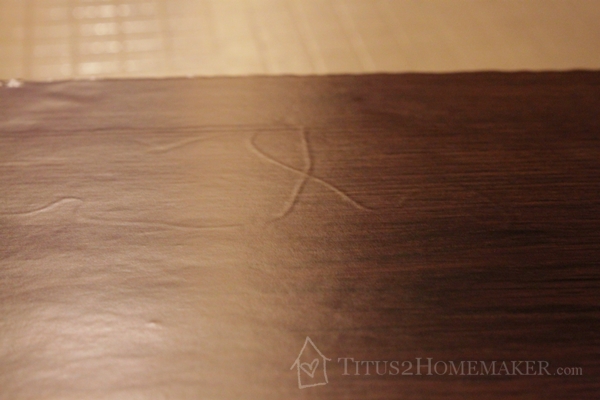
But at the angles I usually photograph, I haven’t had any issues yet. It just looks like a wood or wood laminate surface. (Well, the wood-look ones do, anyway!)

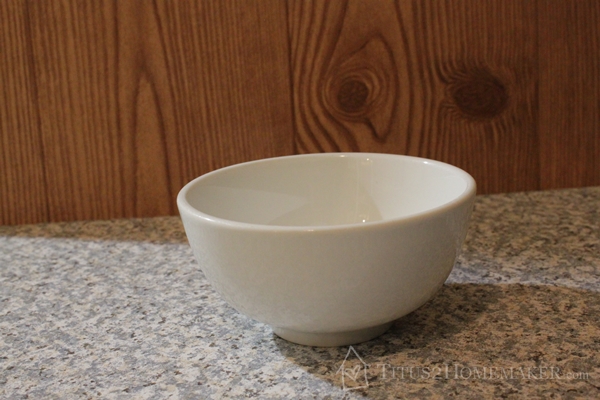
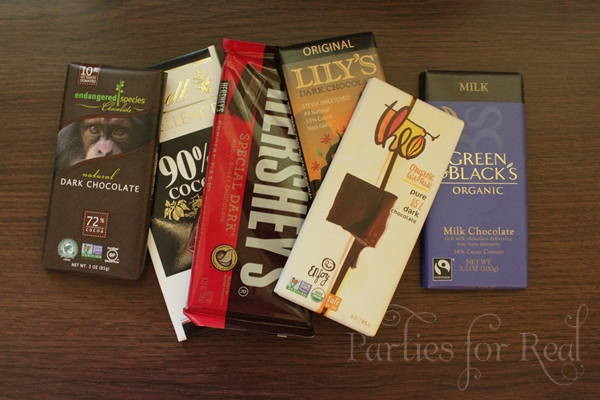
The picture at the top of this post is one I just threw together really quickly after I made the boards, to try them out with lighting coming from various angles. I think the boards work pretty well.
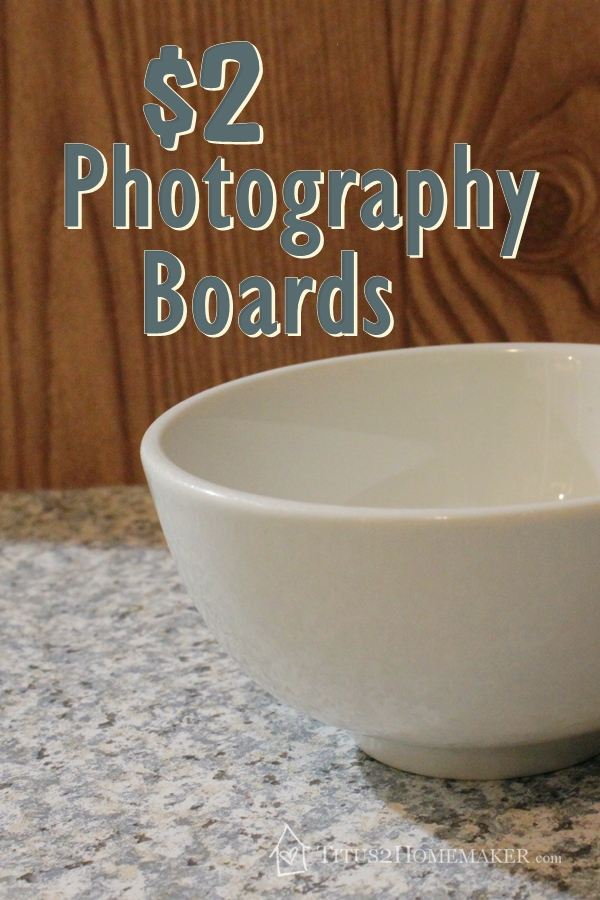
This one uses the darker “wood” board, too:
(Yes, that really is my photo. Parties for Real is a new website my sister and I are launching in a couple months.)
They’re not huge, but they’re fairly versatile. As you can see in the photo at the very top, you can use them under your goodies or behind them. (Keep a plain white sheet and a plain black sheet of foam core board, too; those are also useful as backgrounds.) Even if they get a little messy, you can wipe them off. And they’re cheap enough to replace if they really get messed up.
How clever! I thought you must have gotten new countertops! 🙂 What a great idea to take nicer photos. Now if I could just figure out how to video myself while I cook….