In the last post, I gave you an overview of my DIY planner. In this post, I’m going to delve a little deeper into the graph background and the daily pages.
Graph Paper
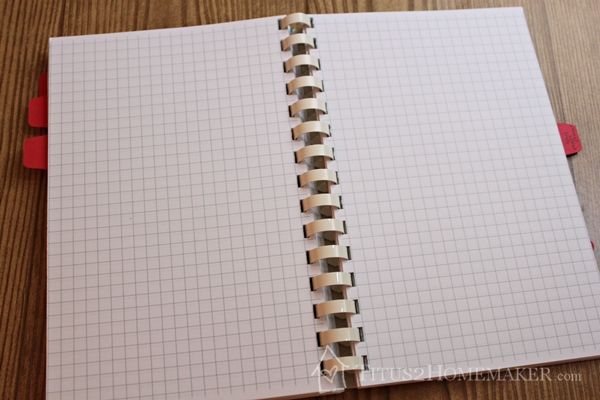
The graph I’m using is a 1/4″ grid. You can buy it already done, of course, but I found it to be too dark for my taste. It kind of grabbed too much attention from the primary content. I wanted something that was dark enough to serve as a useful guide, but light enough that once I’d written on it I could see what I’d written without squinting. (Don’t try to use regular school graph paper, though; that’s way to thin for pages you write on both sides of.)
Now the tricky thing is that my printer — like most home printers — won’t print all the way to the edge. Mine will print almost all the way to the edge — like 1/8″ or something — except at the bottom. So here’s my workaround: I have two different pages. For the ones I’ll be cutting into half-sheets, I have a half-sheet of grid. I print it, flip the paper over and print the other end. (I do that for both sides.) It doesn’t match up perfectly in the middle, but since I’m cutting it down the middle it’s okay; it’s close enough.
When I’m printing something on a full sheet, I just print a full sheet, which turns out okay, because if you want to fold a full sheet in, you have to trim the very end off, anyway (so it won’t interfere with the binding). (And if not, like if you’re folding it over twice, you can just bind that edge and it’s not that noticeable.
Sooo…here’s my graph paper:
Both of those should be PDF’s. Right-click and select “save as” to download.
When you print them, make sure your settings are right! You want to not scale or shrink or anything to fit, and tell the software that, yes, it’s okay if part of it is outside the printable area. That way it will print with the correct 1/4″ grid, and will print as close to the edges as it can get.
Daily Pages
Now the daily pages…for these I’d initially had a different plan. I made some templates, using file folders and my Silhouette Cameo.
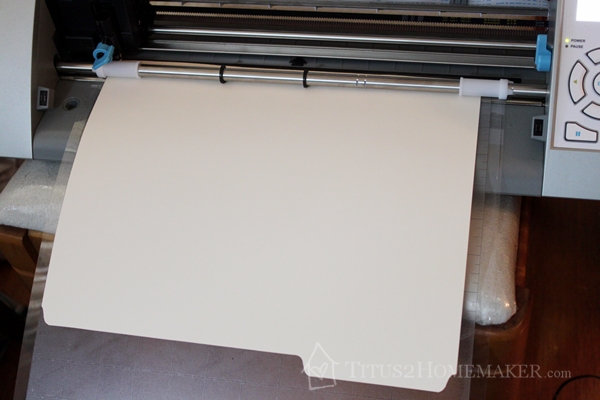
Unfortunately, I couldn’t get the Silhouette software to make the boxes quite precisely the sizes I wanted. (Beginner’s errors, I’m sure. I’m not very experienced with the Silhouette yet.) The idea was to have some rounded-corner boxes in a variety of sizes that I could use to quickly make various layouts.
When that sort of flopped, I decided to just print my daily pages — at least the left side of the spread — with the boxes already there. (If I wanted just plain rectangles, it wouldn’t be that big a deal; I could just trace them along the grid lines. But I thought the rounded corners were a nice touch.)
So here are the daily pages. There’s one with the whole left-side layout. And there’s one with the numbers, but no boxes, in case you want the hours marked in, but you want a slightly different layout.
Left Side Daily Layout – Numbers ONLY
Left Side Daily Layout – Full Layout
Of course the same rules apply as when printing the graph paper — don’t scale it and let it print even though it will “fall outside the printable area.” I don’t think I’ve mentioned, but you probably have figured out by now, that all of these things print on a standard 8.5×11″ sheet of paper, and then when you cut them, you have pages half that size.
When you print these daily pages, you want a left side on one side of the sheet and a blank grid on the other, either way you turn it. So on the side of the sheet you’re looking at, you should have a “dated” and a blank. At the left end, you should have a dated on the front and a blank on the reverse, or vice versa. And the same at the right end. That way when you put the pages back to back in the planner, the back of each printed page will be the blank side that faces the previous day’s date. Hopefully I didn’t just make that “clear as mud.”

Stamps
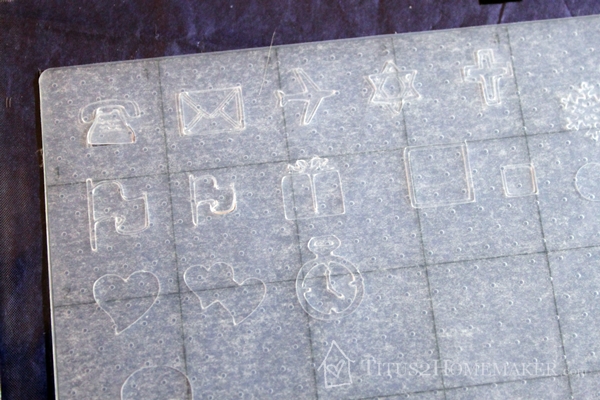
I also made some stamps with the Silhouette, to go with all of this, but I haven’t finished with that project, so that’s another post for another time. Here’s a little sneak peek, though:
[…] kids!) Day 6: See above. Day 7: See above. Day 8: See above. Day 9: DIY Day Planner, part 1 Day 10: DIY Day Planner, part 2 Day 11: DIY Day Planner, part 3 Day 12: DIY “Shampoo” Day 13: DIY […]