
I’ve been digging into the idea of Bullet Journaling more lately (more on that at a later date), so I’ve been browsing planner blogs, pins, etc. (I’m not much of an Instagram user, but that’s a pretty good use for Instagram, by the way — lots of great planner inspiration.) There are a lot of different things that people might want to put in their planners, and they can be added with varying degrees of ease, but one thing I found to be especially tricky was round figures. In particular, the Spiraldex (this is a particular time-tracking tool) and the “level ten life” graph (I’ll explain more after the tutorial).
I don’t have a completed image of the Spiraldex, but it looks a lot like a snail with spokes. You can kind of see it in the template image above. (The finished version has numbers in the larger circles, for hours in the day.) The Level Ten Life graph doesn’t really have an “official” name, but it is a circular graph with both spokes and concentric circles. There are ten concentric circles. Depending on whose material you’re reading, there may be varying numbers of spokes; this one has ten.
The problem is, either of these is a bit difficult to freehand, and graph paper doesn’t really help, because they aren’t straight lines. So I decided to make a couple of templates to make it a little easier. The process is still a little tedious, so I don’t think you’d want to use this for something you have to draw every day, but for once in a while, it’s definitely easier than freehand.
You’ll need:
- printed copy of the graph you’re making a template of
- scrap cardboard (I used pieces of a soda case. It doesn’t really matter, but you want the flat kind, not super-thick. A cereal box would work well, too.)
- masking tape or painters’ tape
- pushpin
- thick corrugated cardboard or corkboard (something to press on that you don’t have to worry about poking holes in)
What you’re going to do is use the printed copy as a template to poke holes at all the intersections — through the cardboard.
Step 1
First, trim a lot of the excess paper from your printouts, if you like, so you can see where on the cardboard you’re placing the printout. Then place it on a piece of scrap cardboard.
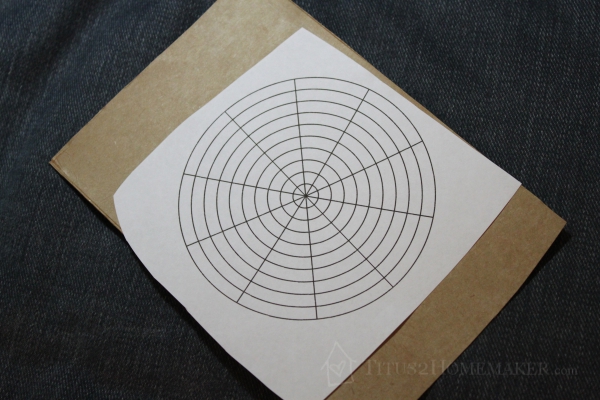
Tape the template on with masking tape or painters’ tape so it doesn’t shift. (Don’t press the edges of the tape down too firmly, though, or you might have trouble peeling it back off.)
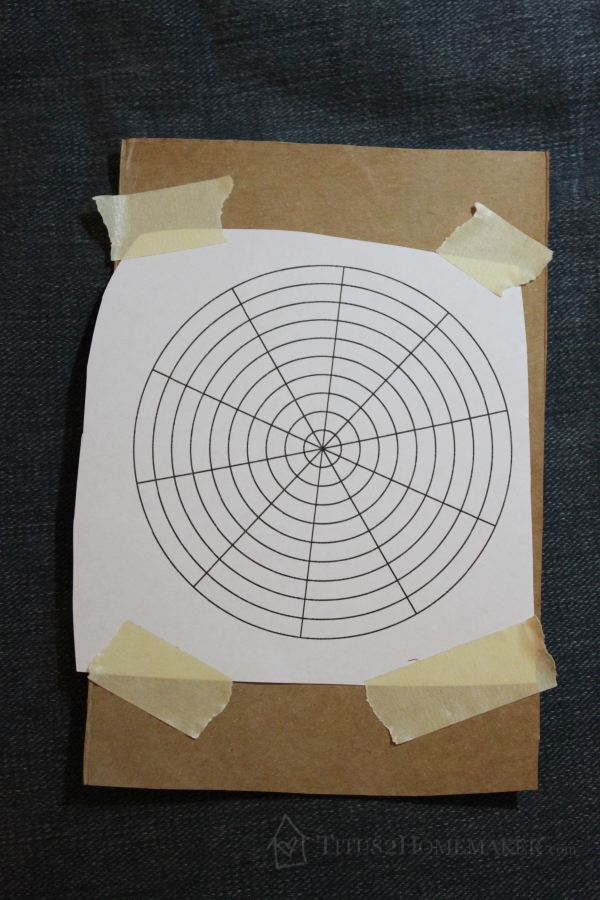
Step 2
This is the tedious part. Place the template+cardboard sandwich on top of something you can safely push a pushpin into. I used a heavy-duty corrugated cardboard box. If you have a corkboard, that could work great. Then carefully push the pushpin into every intersection, one by one, ensuring the pin goes all the way through the cardboard.
For the circle, I found it easiest to do the center dot, then the innermost ring, and then just go out each spoke one at a time.
When you think you’re done, flip it over and just double-check that there are holes everywhere there should be (in other words, verify that you didn’t miss any).
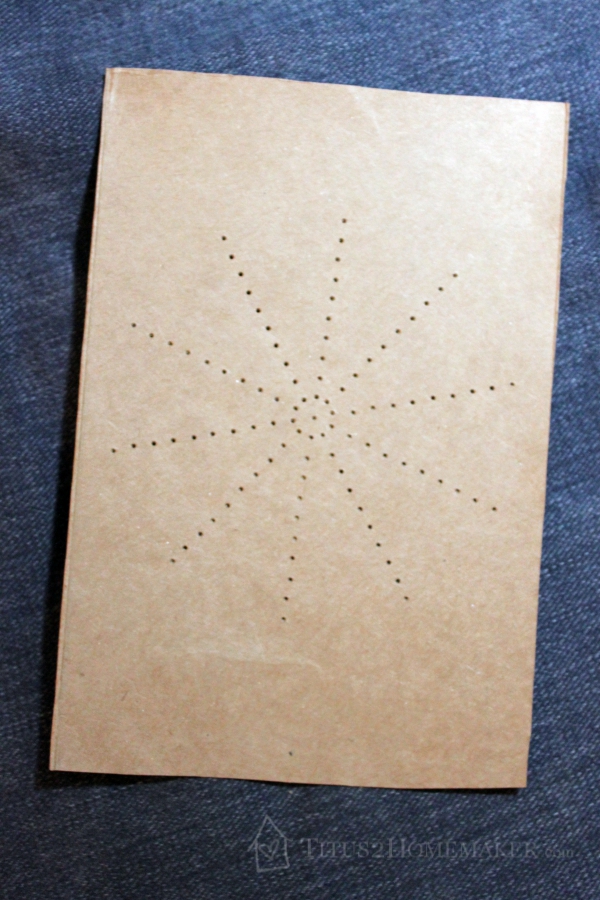
Step 3
Remove the paper template and you’re pretty much done. I pushed the pushpin through every hole one more time, ensuring it went all the way through, just to make sure the holes were evenly thick.
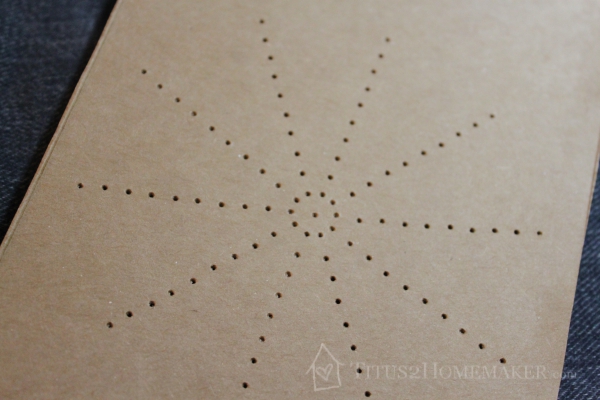
Using the Templates
To use one of the templates, you’ll want to use a very sharp pencil and mark your paper through each one of the dots. Then you can remove the template and connect the dots. The easiest method for me was to hold the pencil upright, insert it in a hole, and twist. Again I did the center first. Then I marked the ends of each spoke, just so if I accidentally shifted the template I could line it back up easily, and then went out each spoke. For the Spiraldex, I just spiraled from the inside out.
(Sorry it’s a little hard to see. I’ve done the dots here on dot paper. In person, it’s a lot easier to tell the pre-printed dots and the penciled dots apart.)
Now, for the Spiraldex it’s really, really important that you use pencil for this step. The reason is, once you mark the dots, you need to encircle the hour spots larger before connecting the lines. So you’ll probably want to make the initial dots in pencil, then circle them with ink so you can erase the inner dots.
For the Level Ten Life graph, it’s not so much of an issue, as you’ll be connecting all the dots. I used a straightedge to connect the dots for the spokes. For the concentric circles you have two options. You can freehand it, connecting the dots to keep you on track. If you have a steady hand and good eye, you might like this option better.
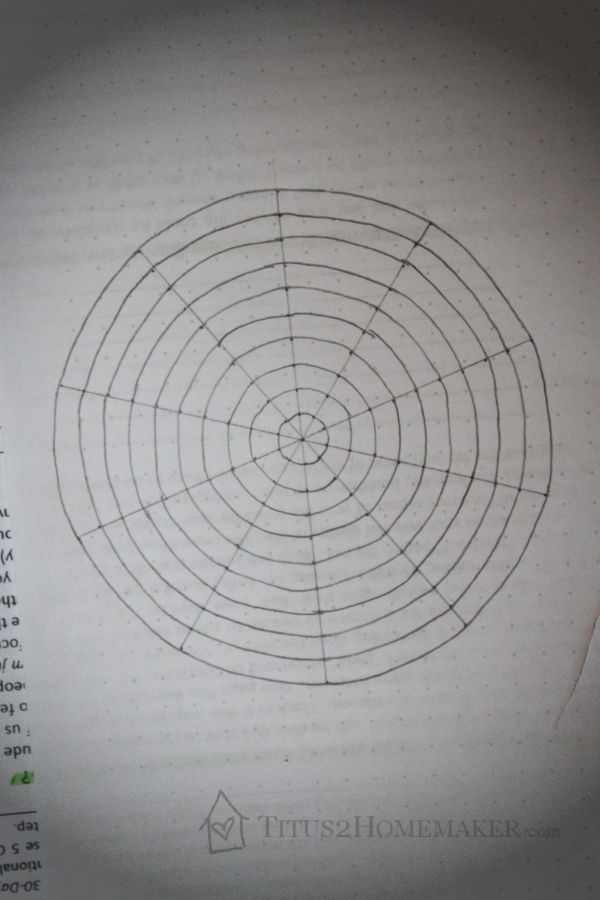
As you can see, I kinda don’t, and mine is pretty wobbly and messy. There’s another option. Strictly speaking, this doesn’t have to be circular. So if you prefer, you can just use your straightedge to connect the lines, like this:
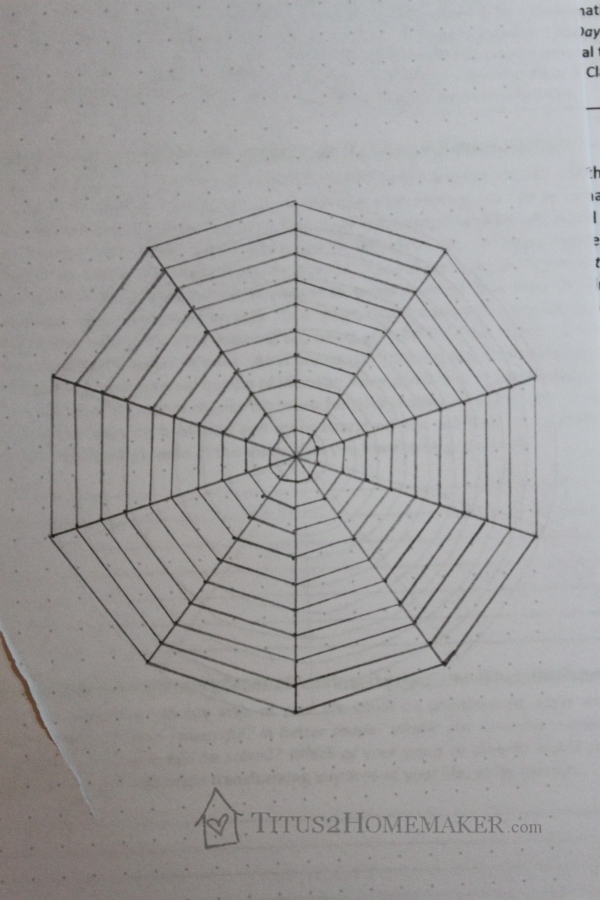
(I’m working on scrap paper here, by the way, that got “chewed up” by my guillotine when I was cutting it. That’s why I have big gashes.)
What is the Level Ten Life?
I promised at the beginning of this post that at the end I’d clarify the Level Ten Life thing for those who are not familiar. Each wedge represents a different area of life. (What the areas are varies depending on who’s teaching. I really like this program, that uses it, but Miracle Mornings — which is a little more “woo-woo” but has some valuable elements — uses it, too.) The concentric circles represent “levels.” The idea is to determine, for each area of your life, how you’re doing on a scale of 1-10. You color in that wedge from the inside out, to the appropriate number of layers. This provides a visual to show you which areas of your life you’re rocking out, and which need some work.

[…] week break to the start of the quarter), I also include a page like this. It includes this “level 10 life” graph, and can include other information I want to pay attention to as I plan for the coming […]