This is part two of a two-part article. To read the first half, click here.
How I “Process” My Notes
Now that you know a little bit about what we have to work with, let’s get into the nitty-gritty.
If I have recipes, I want to copy those into my recipe software. So I just highlight a given recipe, copy (Ctrl-C), and paste (Ctrl-V) into the recipe software. I use Living Cookbook, and it has a handy “capture” option that let’s my highlight sections of text and click a few buttons to place the information in the right fields (title vs. ingredients vs. instructions, etc.). It also has fields for the source so I know where a recipe came from later!
Once I’ve copied the recipe over, I delete the note because I don’t need it anymore.
If I’ve made notes about things I want to remember for reviewing the book, I look over those. (I usually precede them when I write them, with “For review:” or “review:” so I can just skim for them.) Unless I’ve overlooked something, it’s a two-step process from here to get to the book’s page for review. First, click on the title of the book (just above the “you have x notes…” section). You’ll get a page like this:

I’ve marked with an arrow the spot on this page where you can make your notes public if you want to. (There’s one other way, which I’ll show you in a bit.) But see where I’ve circled? That link will take you to the book’s listing on Amazon, so you can write a review. (Right-clicking and opening a new tab can be useful here. I typically open this page in a separate tab from my notes, and then click straight through from here to the product page.)
After leaving a review I go back and — you guessed it — delete the note(s). (I do keep some of my notes on occasion. If I think I might need/want them again, in this format, I keep them. But the majority of my notes I won’t need from this interface once I’m done with this process.)
Sometimes there are links in a book that I want to check out. I am not a fan of mobile, except insofar as we have to be mobile, so I rarely open these links on the tablet. This is especially true if there’s a download link involved, because I don’t want the files downloaded to my tablet; I want them on my computer! But I usually read on the tablet. So this is my solution.
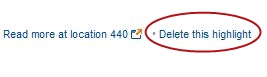
As I’m reading, I highlight the section of the book with the link (and enough of the text that I can remember what the link is). When I get to this stage of processing my notes, I click on the link to “read more” at that location.

Amazon will open the book — to that location — in the Kindle Cloud Reader, which is a fancy way of saying it will load the book right in the web browser. Then I can click the link and browse or download freely on my regular computer. And of course when I’m sure I’m done with it, I delete the note.
When I’m done with all of the recipes and anything “actionable,” I’m left with the general notes & quotes I want to keep. At this point, I highlight the whole shebang (title & all) and copy-and-paste it to Evernote. (My Evernote notebook is not public/shared; it’s just my personal notebook.) I can then tweak, edit, add to, or delete from my notes (and usually delete all the page numbers).
Then I delete any of the notes from Notes & Highlights that I don’t expect to need, and I’m done!
If you should want to make any of your notes public, there is one other way to get to that option besides the individual book’s display page. You can click on “Your Books” at the very top of the page. That takes you to a page where all of your books are shown in a list view.
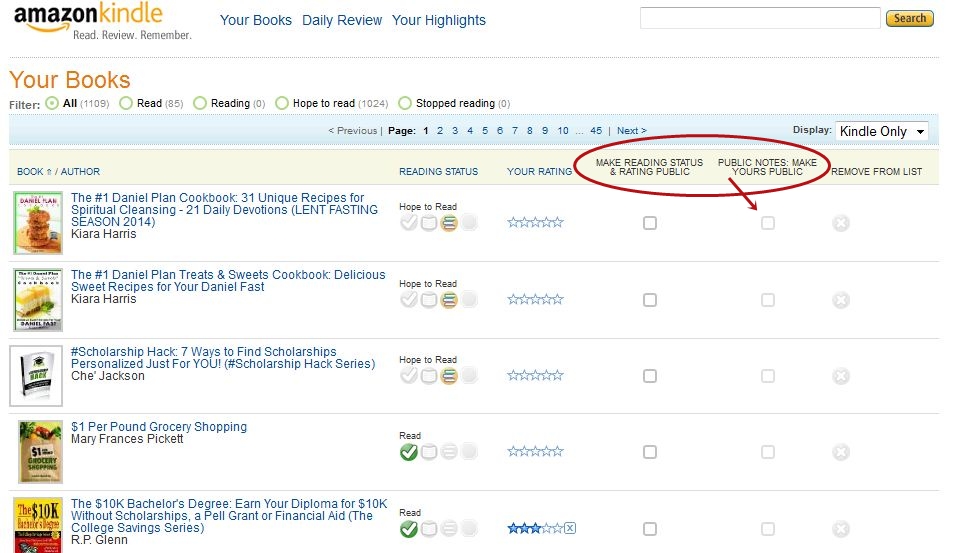
A couple of the columns give you the option to make your reading status & rating, or your notes (indicated) public. Just tick or untick the checkboxes as appropriate.
Hopefully all that was helpful for somebody! Do you have other ways you use Kindle Notes & Highlights? I’d love to hear your ideas — please tell us about them in the comments.
Leave a Reply