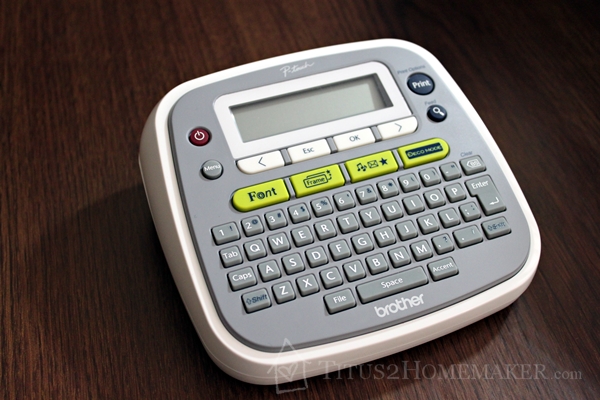
I received the product pictured below, to facilitate my review. As always, all opinions expressed here are entirely my own.
I used a Brother P-Touch labeler many years ago for work. (I used to pull cable and install telephone systems until shortly after I got married.) It was quick and easy to use, and allowed for consistent, tidy “writing.”
Technology has come a long way, of course, and P-Touch labelers have even greater capabilities than in the past, but they’re still dependable, make nice-looking labels, and are pretty easy to use.
This P-Touch is model PT-D200. It has a lot of options. I mean, a lot. I haven’t come close to making use of all of them yet. That breadth of capability means the labeler isn’t super-intuitive to use, in the sense that you could pull it out of the package, never peek at the instructions, and know how to use all the features (‘though you could probably manage to print a basic label).
But it is pretty intuitive in its overall design. The instructions are brief, and after you’ve read them once, using the machine is pretty straightforward. So you’ll definitely want to read the instructions once to get the basic idea, but then it makes sense, so you shouldn’t have a terribly hard time remembering.
Here’s a more up-close picture of the screen:
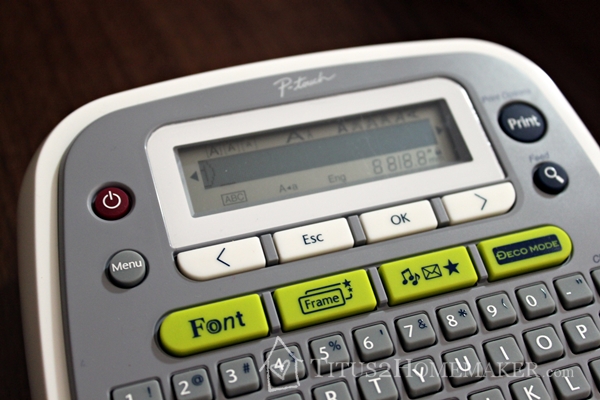
I don’t know how well you can see in the picture, but there are a bunch of little icons across the bottom of the screen. Pay attention to those! They show you what options you have selected. The only thing I don’t care for about the PT-D200 is that it doesn’t really preview the font you’ve chosen. (I assume that’s the limitations of the type of display.) But you can change fonts & font sizes, add frames & icons, etc. It uses normal batteries, and it’s easy both to open the case, and to figure out how the batteries and label cartridges go in — no instructions necessary.
Now that you know how easy the P-Touch is to use, let’s talk about why you might use it.
It’s especially helpful for those whose handwriting isn’t amazing, but anyone can use these to create a consistent, easy-to-read set of labels. Label tapes come in a variety of colors, making color-coding possible, and also in clear or in specialty styles (like fabric labels). The basic laminated labels don’t smear, smudge, or run, and I’ve found that they adhere well where other types of labels (like the kind you’d put through an inkjet printer) tend not to.
Potential applications:
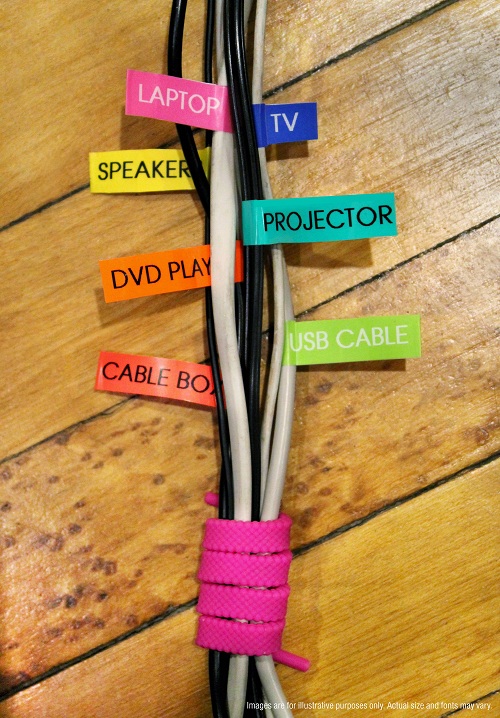
- Labeling power (and similar) cords — I first saw this on Brother’s site, and I think it’s brilliant!
- Labeling file folders
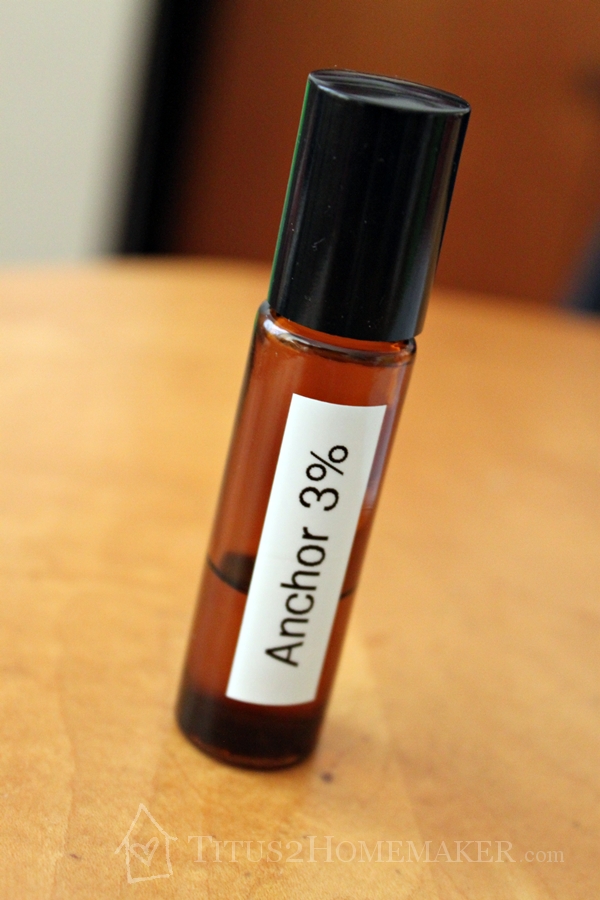
- Labeling essential oil bottles — So far, these are the only labels that have reliably stayed on my roller bottles — and they don’t smear when the oil gets on the bottles, either!
- Labeling binders
- Journaling — I know, this is a rather unconventional one, but consider using these in your journaling or other crafting, too. Especially the clear ones.
- Labeling the edges of stamps, ink pads, or punches
- Labeling boxes, bins, shelves, drawers, etc.
- Putting your name on portable electronics (Like maybe the P-Touch itself 🙂 )
- Labeling school supplies by the child they belong to
- Printing ideas or information to adhere to tongue depressors (any width labels) or popsicle sticks (6mm or 9mm), for chore systems, reward systems, academic games/activities, and the like
- Block off dates on your calendar
What would you do with a P-Touch labeler? Leave a comment and share your ideas!
Leave a Reply