
When you start into art journaling — or collage, or anything else that uses existing images — you begin to accumulate magazine clippings at an alarming rate. Not only can these quickly take over your house, you won’t be able to make use of them if you can’t find what you’re looking for when you want it. So here’s the system I devised when I wondered how to organize magazine clippings, myself.
I’ve found it to be detailed enough that I can find what I need, but not so micromanaged that it’s a headache to keep up with. And it doesn’t take up a lot of space!
You’ll Need:
- a binder (I use a 1″ and it’s sufficient. If you think you have a crazy-lot of torn-out pieces you might want 1.5″.)
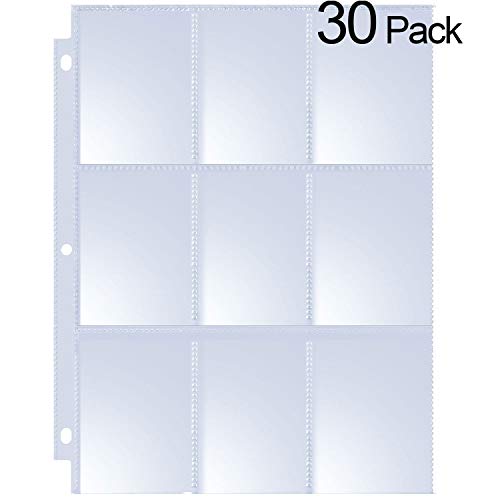
- five 9-pocket baseball card pages
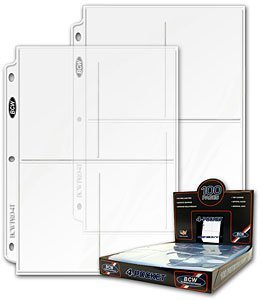
- seven 4-pocket photo pages
- eleven or so page protectors


If you like, you could also include a set of divider tabs.
That’s it! And you might want some scissors if you still need to actually cut out the cutouts. (I often just tear, though, so that’s definitely optional.)
Now all we’re going to do is insert these pages into the binder and put the clippings in there. You’ll probably want one page protector in the front. (This is sort of optional.) Then the baseball card pages. Then the photo pages. Then, finally, the page protectors. Now, let’s talk about why, and what goes where.
Miscellaneous Stuff
That first, optional, page protector? I find that a handy “miscellaneous” pocket. If I find a piece I dropped on the floor I can tuck it there quickly to be “filed” later. I can use it for a couple special pieces I have set aside to use soon (or to keep away from the kids because I have plans for them). Or for cut-outs that are silhouettes for masking. (If you have a lot of those, you may want to give them their own pocket.)
Letters, Numbers, & Symbols
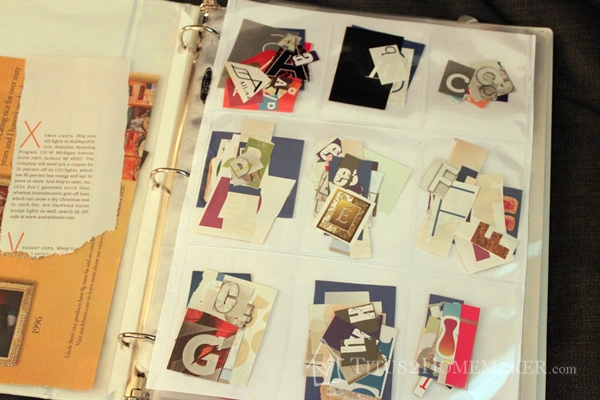
Letters, symbols, and numbers go in the 9-pocket baseball card pages. On very rare occasions I may have to fold one, but these are usually small enough to fit. One letter of the alphabet goes to a slot. So all the A’s in one, all the B’s in one, etc.
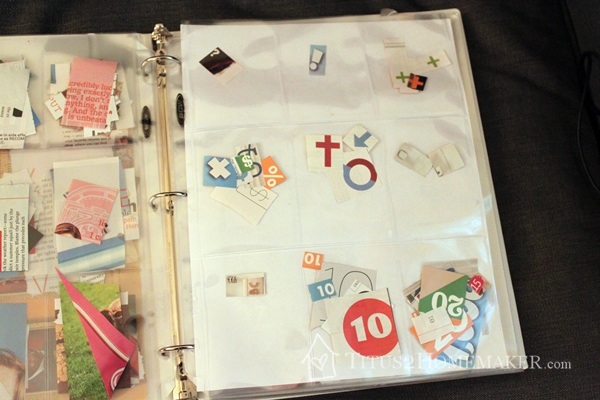
 Just so you know, what you actually see when you look at the book looks more like this (above). I’ve put a sheet of white paper behind the page I’m photographing in all of the other pictures so you can see it better with no show-through from pages farther back.
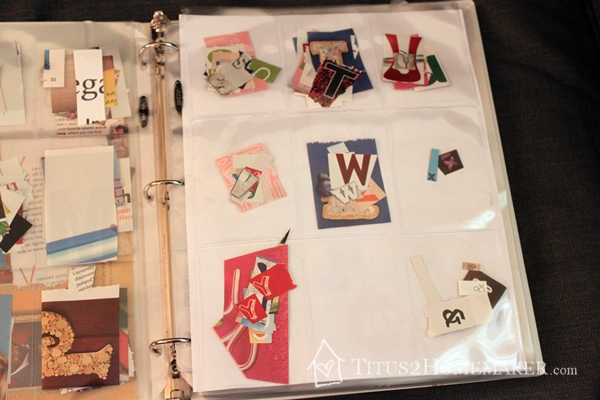
When I get to the end of the alphabet, I roll right into symbols. (I have no Z’s at the moment; that’s why there’s a blank space.) It might seem that numbers would make more sense, but 1-9 fit so nicely on a single sheet that I decided to put symbols first, then numbers. So here I start with ampersands.
Here we have question marks, exclamation points, mathematical function symbols, dollar & percent signs (I think there’s a X in the wrong pocket here), miscellaneous symbols (like gender symbols, crosses, arrows), other punctuation, abbreviations, tens, and other numbers (11+).
 This page has the numbers 1-9. As previously noted, this makes for a nice, well-rounded page.
Words
After letters, symbols, and numbers we get to words.

I don’t sort my words out too far. I just divvy them up by first letter. Because words are typically larger than letters, I use four-pocket photo pages. All the “A” words go in one, all the “B” words in another, etc. (And I don’t save every word. Some have greater significance than others. Think about whether you’re likely to use it in a journal page. If it’s really significant you probably will. Or if it’s really insignificant, like “the,” “and,” etc. you might make use of it. In-between words tend not to get much use.)
Phrases/Quotes
If you clip a lot of full quotes or phrases, you might want to divide them up more than I have. For me, I don’t clip these nearly as often as individual words or letters, so one page is sufficient for me.

Images
I haven’t photographed every one of these pages, because you’ll get the idea. But once I’m past words I move on to images. Now, this section is for images that you’re saving for the sake of the images themselves. Like if you cut/tear out a clock because you might want to put a clock in a layout at some point. I have these in page protectors divided by category.

My categories are:
- people (This is for whole people, or whole faces/heads.)
- body parts (like eyes, hands, mouths that are cut out of their respective faces/bodies)
- animals
- household objects (This is the page pictured above.)
- food
- places & spaces
- plants
- clothing & accessories
- design elements
- miscellaneous
Your categories may differ, depending on what you tend to clip.
Background Pieces
The final section is for pieces torn out for the sake of their color or texture. They’re probably going to be used as background or pieces of backgrounds, and although they may have come from images, you didn’t pull them for the sake of whatever they depict – just for their color/texture. I sort these by the dominant color.

Currently, the colors I’ve sorted them into include:
- Multicolored/variegated (Only for those things which are notable for their multicolored-ness. Most pieces have some bit of another color on them, and if I put them all in here it wouldn’t be a very useful sorting system!)
- Red/pink
- Orange
- Yellow
- Green
- Blue
- Purple
- Grey/black/white
- Brown

I’m thinking about breaking pink out apart from red, and adding a turquoise/teal/aqua page separately. (There have been a few pieces that I couldn’t decide whether to “file” as blue or green!)

Dividers
I don’t have any dividers in my book right now. But if I added them, I would not put them between every page; I’d put them between sections. If you choose to use dividers, you’ll probably want to do something like:
- Letters, Numbers, & Symbols (Or if you’re really persnickety, you could separate letters from numbers & symbols. But you’ll need an extra baseball card page for that so there’s a separation between them.)
- Words & Phrases (Again, you can break out phrases as separate if you want. This would make more sense if you use more than one page for them!)
- Images
- Backgrounds
If you have a larger binder, you could put a final divider in the back and put prompts/ideas in that section. (Like your printout of Art Journaling for Beginners. (wink, wink)

Glad I found this. Need to do this badly. This is a real project all by itself. I know I’ll be happy when it’s done, but I would rather play. Thanks.
You’ll get so inspired, though, flipping through everything you forgot you had!
Thank you so much! I feel like you did all the brain work and I just need to do the physical part. This is a really great, easy and do-able method. Love it!
Thank you so much for this post! I’ve read and pinned so many organization ideas, but this one I did right away! I was thinking that I needed special furniture with drawers for my papers. Your method was easy and I already had the materials. I organized by color, in rainbow order, text, music papers, holidays, and quotes. Thanks again. It’s definitely one of those “why didn’t I think of that ” moments. I’m glad you thought of it ?
I’m so glad I found this page!!! As I get older my fingers stop being so nimble and quick. I’ve done collage forever and seen plenty of folks who use full sheet page protectors which are all wrong for 2″ to 4″ bits of paper. YOU have the solution! I’m buying some of these pockets right now. One comment for all who follow and have coordination issues getting papers out of the plastic sleeves — jewel pickers! They are used for nail art sparkles, beading, and moving around ephemera and paper bits. I settled on the Marvy one but there are all sorts of brands. They really work. All hail googling this page!!!
Thank you for creating this amazingly informational and organised post, Rachel!!! I feel so lucky to have found this page!! Lots of love from Canada❤️