This is a sponsored post, created by me as part of the Celebrate the Season campaign for JoAnn. As always, all opinions expressed here are entirely my own.
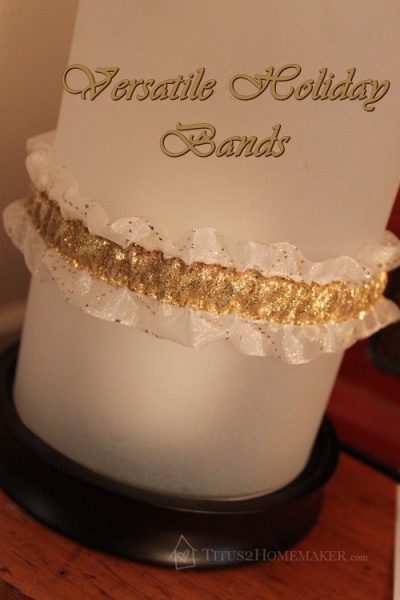
I couldn’t decide whether I wanted to make my house #fabulouslyfestive for this project, or if I preferred to make myself “fabulously festive.” So I decided on both! This single project creates pieces you can use in a variety of ways to decorate either your home or yourself. The decorative bands also take up little space, so you can easily store them between seasons.

What I wanted to do was make some festive pillow covers, with decorative bands that are removable and can be interchanged for other purposes, as well. So what we have here are two red pillow covers (very easy to make – if you can sew a straight line, you can do this!) and six elasticized bands – two each in three different lengths. The lengths you choose will vary based on what you decide to do with them.
For a pillow cover to fit a 20″ pillow, you’ll need:
- enough fabric to cut a 21×21-inch square, and two 26×21-inch rectangles* (after washing and drying to preshrink)
- matching thread
*If your pillows are pretty squishy like mine, you can probably do 20×20 and 26×20. In hindsight, I could have gotten away with this and not had so much slack in the finished pillow covers.
For each decorative band, you’ll need:
- elastic the length you want the finished band to be
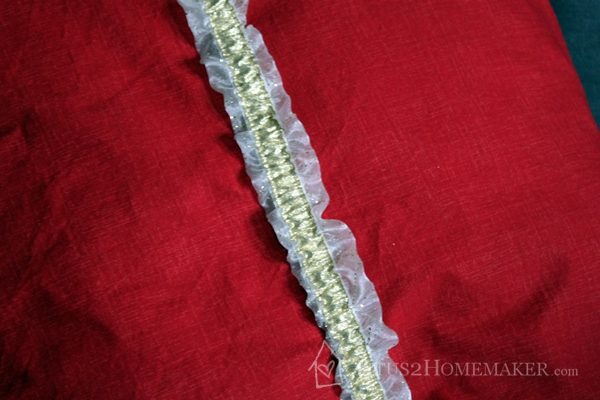
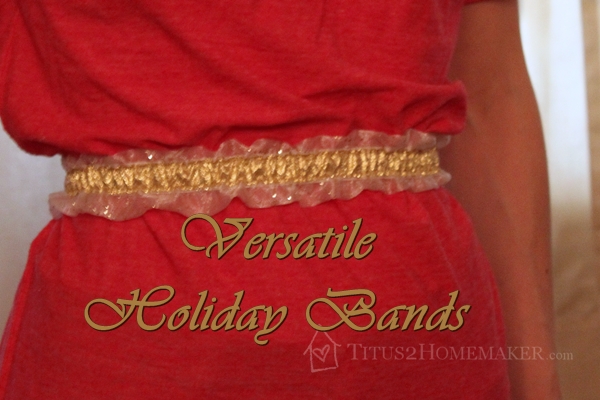
- ribbon and/or fabric in the finished length times 1.5 (For mine I used 4-inch-wide sheer glittered fabric, and gold ribbon.)
- a bra repair kit (in other words, a set of bra hooks)
- matching thread (You’ll want it to match the outer ribbon pretty well, so you don’t have ugly places where the stitching shows on the front.)
Make the Pillow Cover
This is a pretty easy process, but a little tricky to describe, for those of us who can’t draw to make diagrams.
Be sure to wash and dry your fabric the way you’ll be laundering the finished pillowcase, to preshrink the fabric. Then iron it if/as needed. When you’ve done that, cut out your pieces. You want one that’s the size of your pillow, plus seam allowance, and two that, when folded in half, are the width of your pillow (plus seam allowance), by a little more than half of the other direction (plus seam allowance). For my 20-inch pillow, I went with 21×21 and 26×21.
Fold the larger pieces in half, right sides OUT, so the width is still the pillow width (plus seam allowance). So for our 26×21-inch pieces, we’re going to fold them to be 13×21. (Please leave a comment if I’ve lost you, and I’ll try to clarify.) Press these this way so they don’t come unfolded.
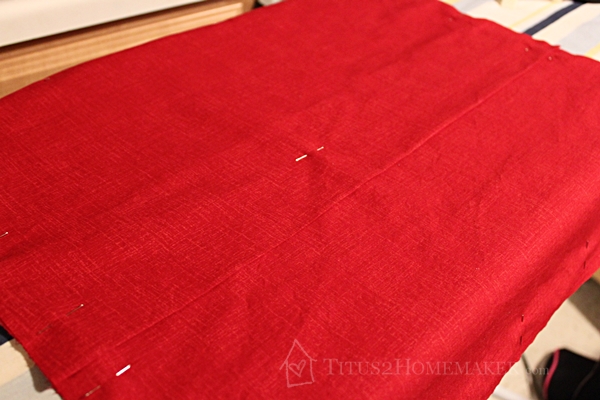
Now stack the three pieces together: full-size piece on the bottom, right side facing up. Then one of the half(ish)-size pieces, with all of the raw edges matched to the raw edges on the bottom piece. Finally, the other half(ish)-size piece, with the raw edges matched opposite the first. (So the folded edges should overlap in the middle.) Pin it however you need to, to keep it from shifting.
You can’t really see it well here, but this is what it looks like all pinned together.
Now, stitch all the way around the square. (My measurements account for a 1/2-inch seam allowance.)
Clip the corners of the seam allowance, like this:
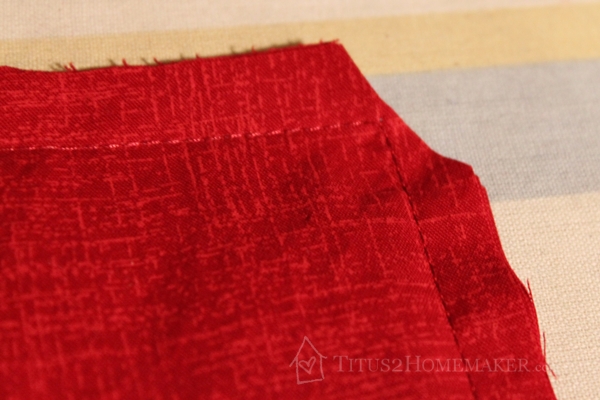
(Be careful not to cut the actual seam, though!) This keeps the excess fabric from bunching up in the corner once you turn it right-side-out, so the corners are neater. For similar reason, you can then trim the seam allowance. When you’re done, it will look something like this:
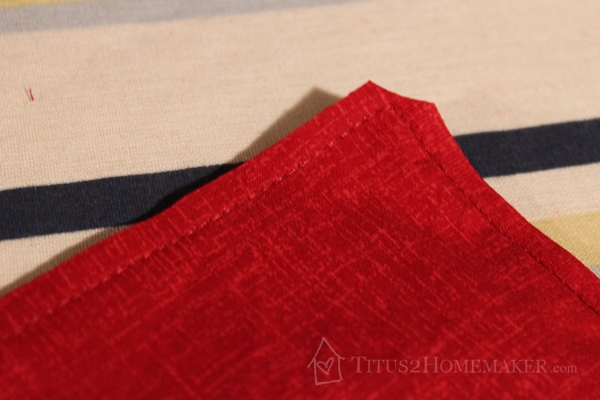
Turn the whole thing right-side-out. You can use a chopstick or a pencil eraser poked into the corners to help push the corners out all the way. (It might be a little ill-advised, but I just make sure my sewing shears are firmly closed and use those.)
Press the seams to make them neat and flat. Then stuff your pillows inside.
Already, my house is getting more Christmassy!
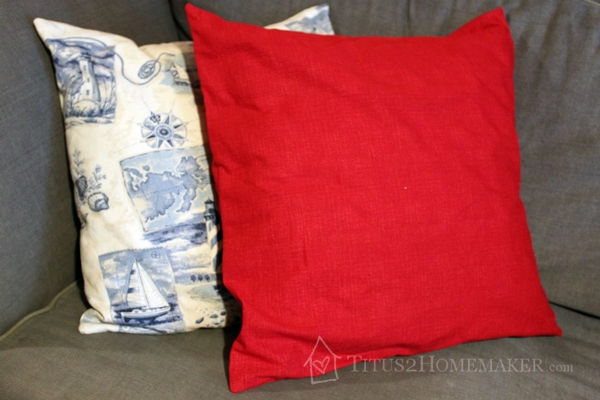
I made two of these, because I have two pillows.
Make the Bands
I didn’t get good pictures of every step here. Sorry! Some of them were just too tough to do and photograph. These aren’t especially complicated, either, but I found the stretching-and-stitching to be far trickier to do than I’d imagined. (It’s simple, but it’s not easy.)
If you’re making them just like mine, you’ll have a ruffle made of fabric, so the first thing we need to do is make a long tube (or tubes) of fabric. I meant for mine to be wider, but I guess I didn’t fully account for the seam allowance, or something. You’ll need to cut strips of fabric twice as wide as you want your finished ruffle to be, plus the seam allowance. I thought I’d cut mine 4 inches wide, but I think my ruffles were far closer to 1 inch than 2 inches wide. Oh, well. Just learn from my mistake!
Fold the fabric in half (lengthwise, so it’s still long and skinny), with right sides together. Then stitch all the way down the open edge with a narrow seam allowance. (You can trim the seam allowance after sewing if you need to. Then turn the tube right-side-out. (An unsharpened pencil with an eraser helps to get it all pushed through.)
Another thing I learned is that this glittered fabric sheds something awful. If I’d realized sooner, I’d have treated the wrong side as the right side. (This particular fabric just looks shimmery that way, instead of glittery. And that way all the glitter would have been contained on the inside. I literally had a whole pile of glitter on my sewing table when I was done, besides all the glitter scattered throughout the house!)
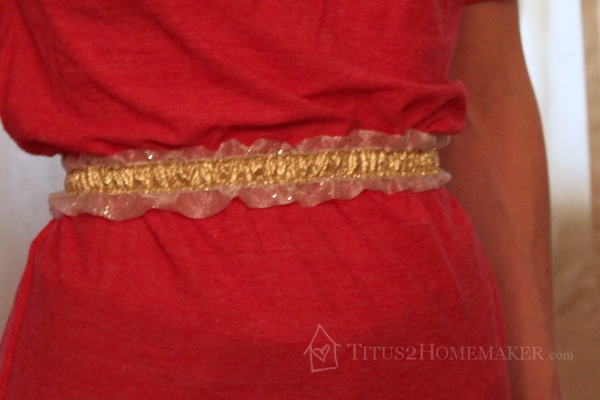
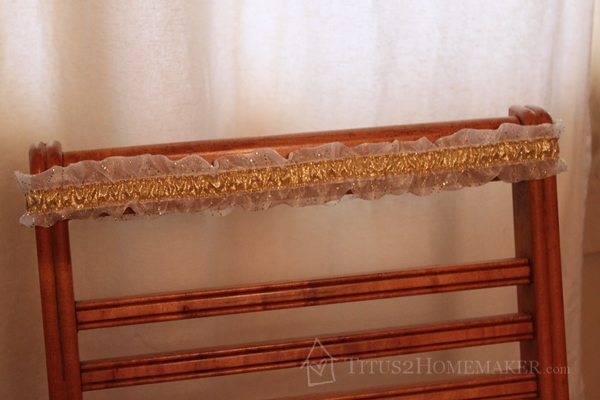
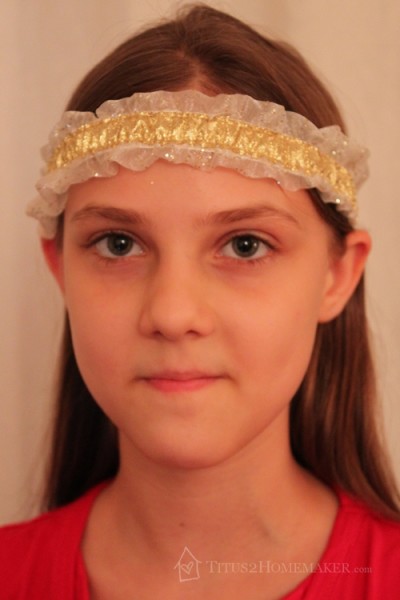
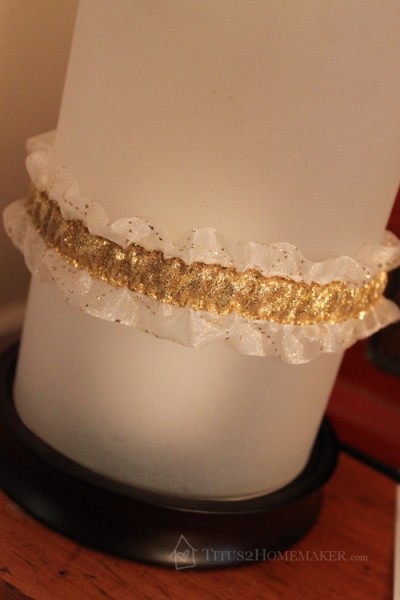
When you’re done with the tubes, cut them and the ribbon to length. I did 22 inches, 18 inches, and 10 inches. Twenty-two and eighteen will wrap around the pillow, with the ends just to the back so the clipped-together part doesn’t show. The twenty-two is a good size for wearing around my waist. (Yes, really. Remember the elastic stretches a bit!) Twenty-two plus ten will go around one of my dining room chairs. Eighteen will wrap my candle hurricanes.
Your ideal measurements might be different – you’ll need to sort out what you want to be able to do with them, and what combinations will make that work. (If you only want to put these on the pillows, you can forego the clasps and just sew the ends together.)
Then comes the hard part. You’ll have a piece of elastic the finished length, and a ruffle tube the finished length plus half again. Feed the elastic through the tube. Keep the tube’s seam centered on one side of the elastic. (This will be the back.) Put a few stitches in each end to secure the elastic. (This just helps keep it from popping back inside while you’re trying to stretch and sew.)
You’ll want to stretch the elastic to match the length of the tube, and zigzag stitch it straight down the center. This is harder than it sounds! You have to hold it behind the presser foot as well as from the front, or it comes snapping out of the machine. (Ask me how I know this. :/ )
Then center the ribbon on top. Stretch it again, and stitch down each side of the ribbon with a stretch stitch (looks a little like lightning bolts).
The elastic will have stretch a little, giving you an extra couple of inches to work with. Fold each end of the band under and sew the appropriate end of the bra hook on. The loops will be on the outside of one end; the hooks will be on the inside of the other. I used a zigzag stitch down the most “open” parts of the contraptions first. At this point, it’s helpful to double-check that you have everything on in the right place and in the right direction.
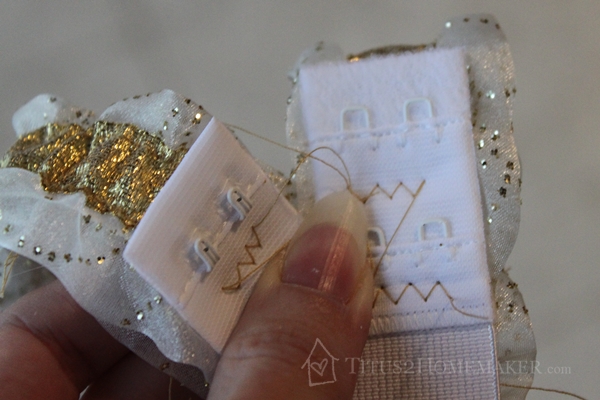
Then switch to the zipper foot and straight-stitch as close as possible to the hooks/eyes. (You may notice that my stitching doesn’t go all the way out to the edges. That’s because the thread doesn’t match the sheer fabric, and I don’t want the stitching to show on the front.)
At this point it’s pretty messy.

Carefully trim all those thread ends. And you can trim the excess elastic from the bra eyes – you can see in the photo above how there’s a long piece we don’t need.
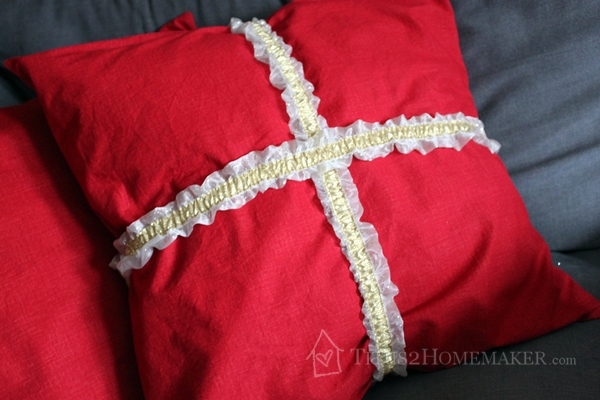
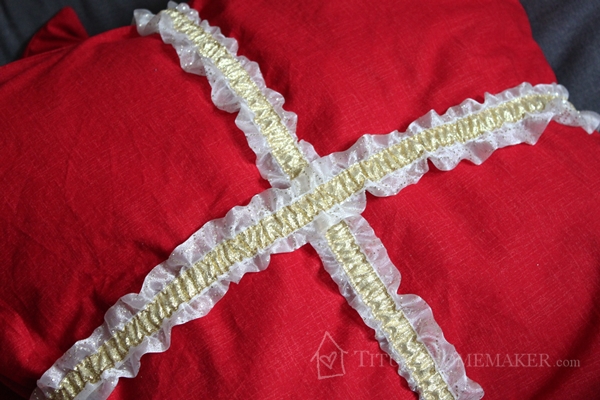
Now you can hook these together around your pillow:
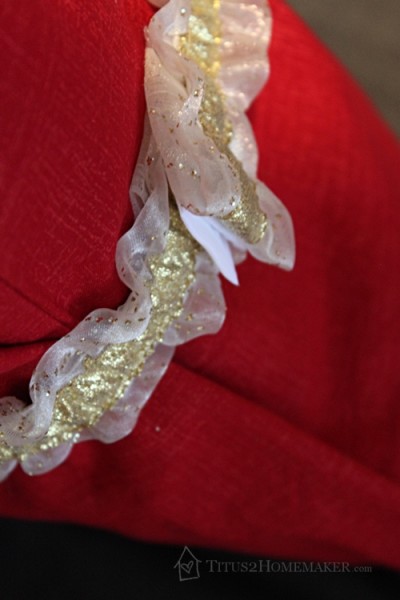
Or in all kinds of other ways for various purposes.
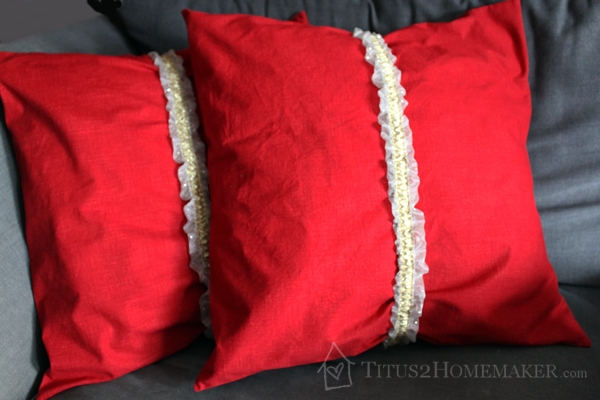
Of course, you can make these in any color you prefer. I like red, because paired with green, gold, and/or ivory it’s Christmassy. With blue and white, it’s patriotic (or just white, if you’re Canadian). With pink, it’s great for Valentine’s Day. So it’s pretty versatile, too!
All of my supplies came from JoAnn; you can save when you get yours there, too, and use this coupon:

More Pinnables:
I got all of my supplies
[…] DIY Quick Pillow Covers: The fancified bands I made for these took a bit of time, but the pillow covers themselves are quick and easy. […]