
Today’s Growth from A to Z topic — I: Imagination — might be better phrased as “Creativity.” We’re made in the image of a creative God. We all have an innate creativity. But for some of us it’s more latent than for others!
I’m pretty creative in the problem-solving sense, but I really struggle with creativity in the artistic sense. If you’re like me, I encourage you to find some ways to stretch yourself (grow!) in this area. A few ideas might be to:
- Decorate your planner. — not necessarily “all-out” like those who really thrive on that, but to use it as an opportunity to practice art in small ways. Make a doodle in a bit of extra space. Decorate around the date. Just do a little something. The space is small, and a new day is a new page, so it isn’t as threatening as an empty sketchbook.
- Participate in a ____-a-day challenge. — You can find these by searching on Instagram (where many of them first appear) or Pinterest. Doodle-a-day. Photo-a-day. Technique-a-day. These usually involve a prompt each day for one month. You can use them that way, or just challenge yourself to work through one of the prompt lists — at whatever pace works for you.
- Try a tutorial. — YouTube has some amazing tutorials. These can be especially helpful for those looking to grow in digital creativity (graphic design, digital photography, etc.) Pick one you like and give it a try.
I discovered a number of years ago that a blank page really throws me for a loop. But if you give me instructions, I can manage that. Now, I know that sounds very un-creative, but it depends on the nature of the instructions! I discovered that even my “keep everything tidy on the page” self could manage a “messy”-style art journal page if I was told what to do at each stage.
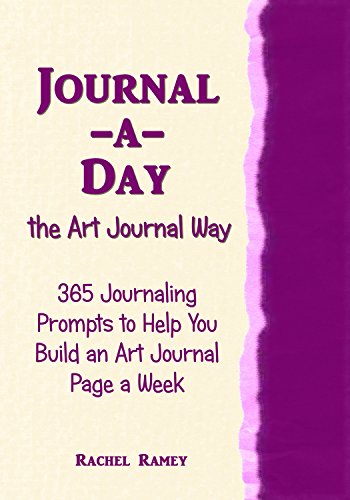
So I wrote a book that does just this. If you follow all of the prompts, you’ll have one each day for a year, and each week’s worth of prompts will build one page layout. It’s really amazing the possibilities this opens up, because you can interpret the prompts however you like, but having some direction helps prevent the art journaling equivalent of writer’s block.
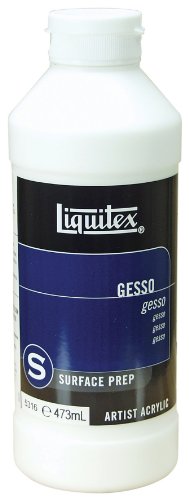
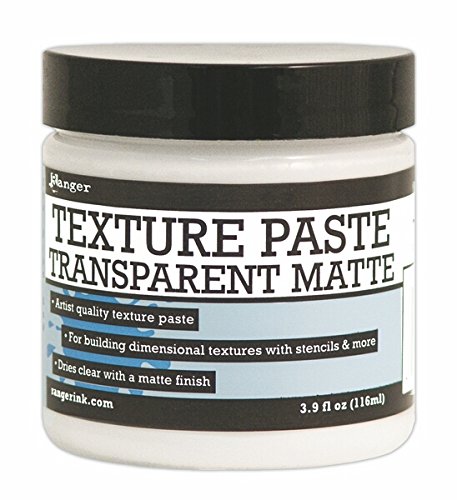
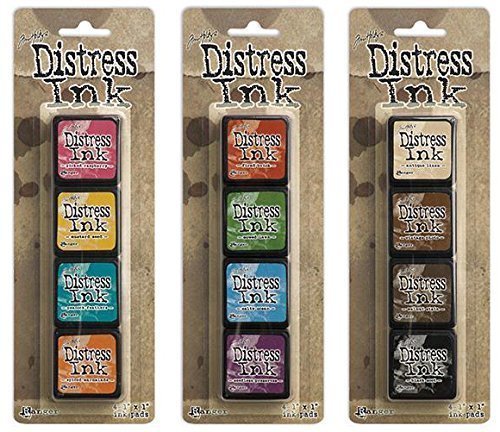
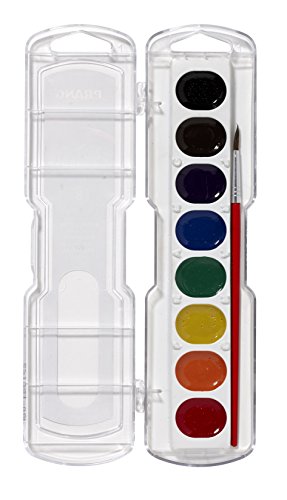
I’m going to show you step-by-step what one of my layouts looks like, using a pretty strict interpretation of the prompts. If you don’t have any art journaling supplies, these are some good starting options. The pages I’m going to show you are just made in a dollar store composition book. It works okay, but the pages are pretty thin and tear easily. I usually prefer a 1/2 size (5.5×8.5-inch-ish) spiral-bound sketchpad.
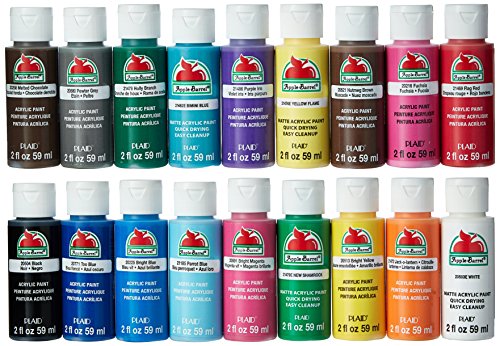
Liquitex G5316 Professional White Gesso Surface Prep Medium, 16-ozRanger Texture Paste Transparent Matte, 4 ozRanger Tim Holtz Distress Mini Ink Pad Kits #1, #2 and #3 BundlePrang Washable Watercolor Set, 8 Classic Colors with BrushApple Barrel Acrylic Paint Set, 18 Piece (2-Ounce)Elmer’s All Purpose School Glue Sticks, 4 Pack
So, without looking ahead, I just took each of the prompts for a single week of the year in succession. You can shuffle the prompts around any way you like, but I wanted to show what the result might possibly look like if you followed them exactly.
1st day: background prep — week 24 prompt: put sticky notes and/or removable labels on the page (to be removed after the next layer)

2nd day: additional background prep — week 24 prompt: paint with watercolors and, while wet, lay crumpled plastic wrap on the surface ’til dry


3rd day: lay out journaling — week 24 prompt: spiral the journaling on the page
Now, I have to confess that, had I made the grid-like things you see in the page above, and not been trying to stick with the prompts absolutely in sequence, I probably would have gone looking for a different layout for this one. The spiral doesn’t quite seem to “go” with the neatly lined-up boxes I’d made. But I went with it. If you look closely here, you can see where I penciled on a line.
(For some layouts you probably don’t need actual lines, but I didn’t think I could freehand writing around a spiral!)

4th day: doodle/scribble/stamp — week 24 prompt: use the same stamp twice without reinking, to create a darker image and a lighter, faded image
You could do this literally just once, for a single pair of images. You could do it all over the page. Whatever. I chose to use the boxes I’d made, since they weren’t being used for anything else. And I alternated between starting each pair on the left or the right.

5th day: writing prompt — week 24 prompt: “If I could be famous/known for one thing…”

6th day: add media — week 24 prompt: add a bit of ephemera such as might be found in a scrapbook

7th day: finishing touches — week 24 prompt: add the date to the corner in a decorative way

Below you’ll find a link to my book, as well as another book of journaling prompts (more of a journaling-meets-Bible-study kind of thing), as well as another art journaling book I found helpful for teaching a newbie specifically what to do. Below that you can see the progression of my layout.
Journal-a-Day the Art Journal Way: 365 Journaling Prompts to Help You Build an Art Journal Page a WeekJournal-a-Day the Titus 2 Way: 365 Journaling Prompts for Growing in Godly WomanhoodThe Decorated Page: Journals, Scrapbooks & Albums Made Simply Beautiful


Rachel, that looks so pretty. I’m not into journaling (not my thing), but I love to scrapbook. I might try and adapt your idea for my next page.
Returning your A-Z visit from ajblythe.com