Making hard (solid) lotions has been on my “to-do” list for a while, but I’ve never gotten around to actually doing it. Since MadeOn’s My Buttered Life is in the healthy living bundle this week, I decided to bite the bullet.
Using Renee’s instructions, I created this solid lotion, and then I added various essential oils/blends for different purposes. I just did a few this time — experimenting with the concepts of the various applications and practicing the actual process.
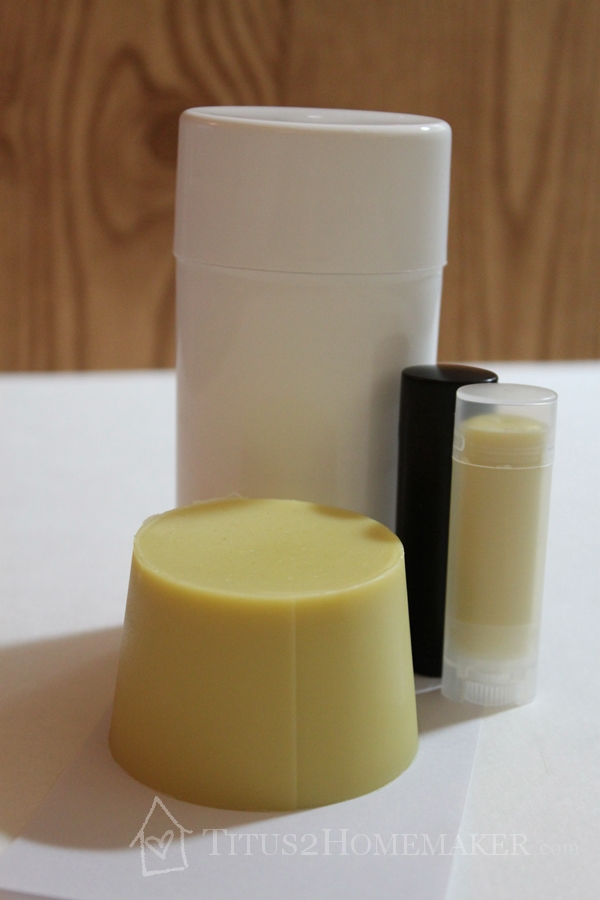
(That’s why there’s extra here. I had two small tubes and one large one. Everything else I just literally poured into a paper cup and molded that way. It worked just fine. And of course I had the seam side facing the camera when I took my pictures!)
This is a very forgiving, easy recipe/process! It’s literally just measure, melt, and pour.
Measure & Melt (Just 3 Ingredients!)
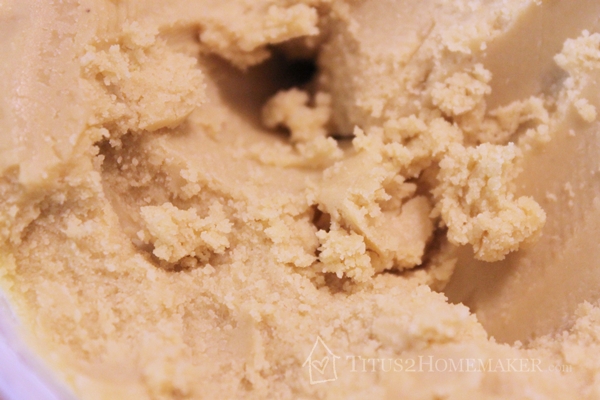
There are a zillion ways you can vary something like lotion or a lotion bar. But apart from the essential oils, most recipes can be boiled down to basically: beeswax, a solid fat, and a liquid fat. Many use coconut oil, though, which is kind of in-between, because it solidifies at room temperature. So the simplest recipes is beeswax, shea butter or cocoa butter, and oil. And then you can scent it or “therapeutic-ify” it by adding essential oils if you want.
(Beeswax contributes positive properties to the lotion, besides just the consistency, so if you can use it, I recommend sticking with it. But if you can’t because you’re allergic or vegan or for some other reason, I understand that bayberry or candelilla wax can be used in lotion bar recipes instead.)
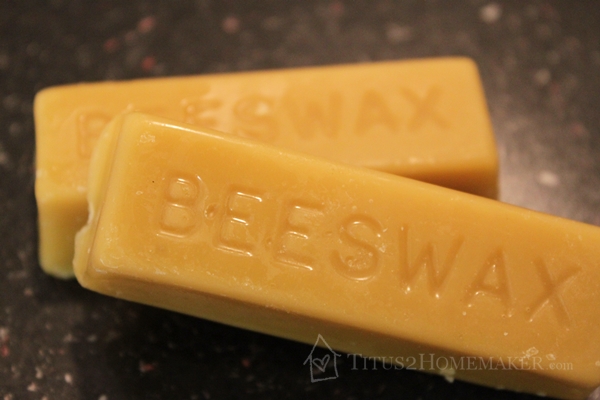
Weigh the ingredients out on a kitchen scale and dump in the pot.
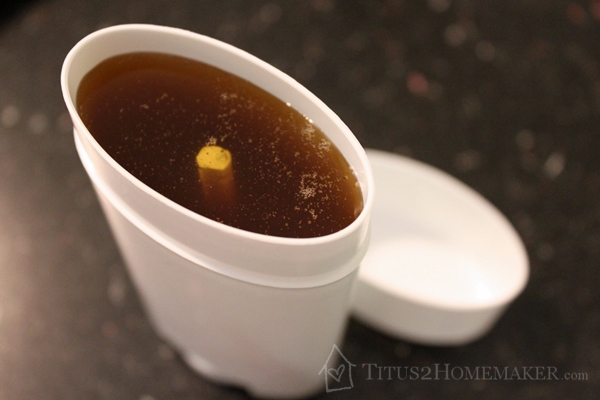
Melt the waxes/fats over low heat or (preferably) in a double boiler.
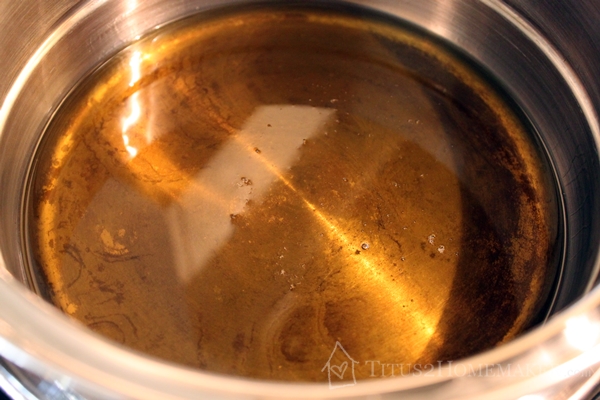
(This is not as dark as it seems. The bottom of my pot is blackened because someone used the top half of the double boiler as a regular pot and kind of overdid the heat for that sort of use. So anything you see here that looks like discoloration or dark spots? That’s the pan, not the contents.)
If you’re adding essential oils, do it after you remove it from the heat (so the heat won’t damage the essential oils), but do it quickly, because this stuff sets up pretty fast! Because I wasn’t doing mine all the same, I poured a little into a disposable cup, mixed in the essential oils, then poured it into my containers. But I ended up with a coating on the inside of the containers where it started to set up as I poured. (I should’ve taken a picture of *that*!)
Pouring
Then pour it into the containers.
And wait for it to harden.
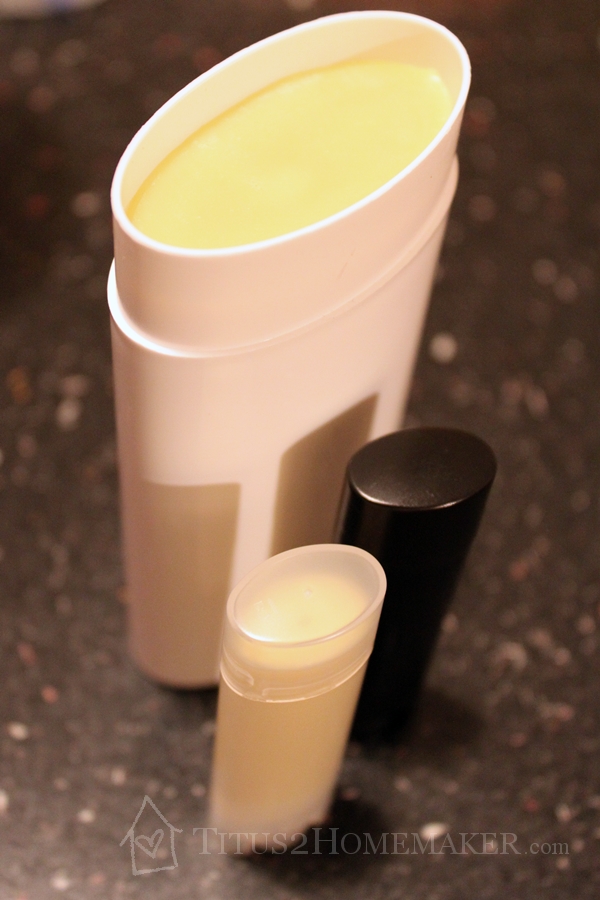
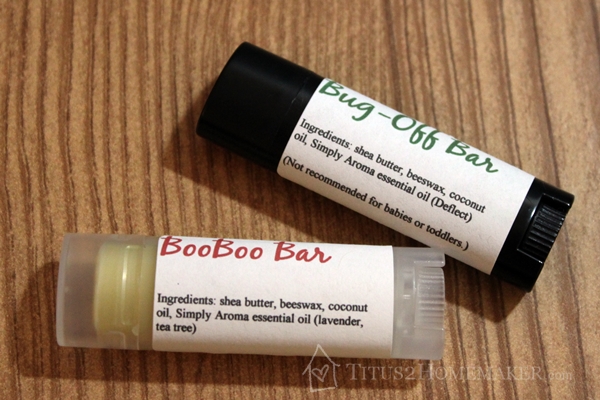
This is what I made.
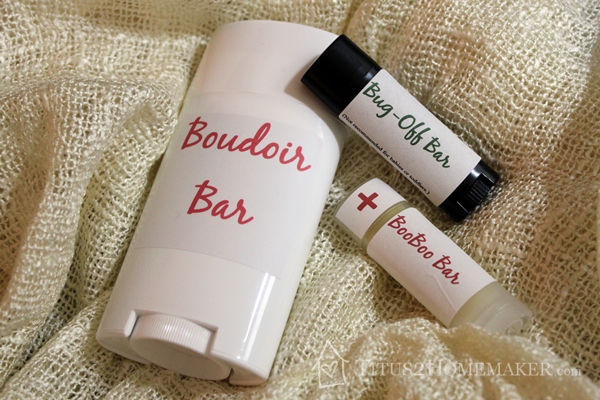
I was fiddling around with labeling, though. I don’t like the labels yet. (This little BooBoo Bar is awesome, though, because it’s small enough to actually fit in the little first aid kit I carry in my purse. That has been a sticking point for years – finding something to put on cuts and scrapes that’s natural and will fit in that little bitty box.)
The Hard Part of Making Lotion Bars — Cleanup
Now, the cleanup is pretty messy. I don’t have the details here to confirm it, but judging from the feel, I’m thinking shea butter is actually a wax. It will take lots of soap and very hot water to wash this stuff up. And you don’t want to take too long, because the beeswax will harden! So clean up right away. It’s best to wipe out your containers as thoroughly as possible immediately after using them, and then go back and wash up well with soap and hot water.
All of these main ingredients are safe enough that you’re fine to heat them in your regular dishes as long as you wash them well when you’re done. But if you’re adding essential oils, think. If you’re adding an essential oil that’s highly toxic by mouth, you probably don’t want to mix that in your dinner dishes. Likewise, you probably don’t want to stir this with your favorite wooden spoon because it will soak into the spoon! A little bit of common sense, though, and you’ll be fine. 🙂
Have you ever made lotion or lotion bars?
Leave a Reply