
Most of the supplies for this project we already had on hand courtesy of CraftProjectIdeas.com. But we did seek out a few specialized items (like the metallic pompoms) to make the project just right.
“Can we do red tonight?! Can we do red tonight?!” Each year, my children eagerly anticipate our Christmas tree tradition, and clamor for each new stage. But decorating a whole Christmas tree in the designated color scheme might be too big a leap for some families. So what can you do?
Fake It
This craft my daughter created adapts beautifully for this purpose! And it’s easy enough that even preschoolers can do it. (The youngest kids will, of course, need more help — especially with gluing the initial tree. It’s also pretty flexible. We’ve used regular craft sticks as well as the larger “tongue depressor”-style sticks. (The larger ones work better for this, especially for preschoolers.) And we’ve used both natural-colored craft sticks and colored.
Note: We ended up with our photo selection a bit jumbled up. It took our pompoms a long time to get here, so we actually had to add ours after the fact. And the package of pompoms I photographed is not from the set that includes all three of the proper colors. So bear with me and understand this is the gist — and it’s a bit flexible.
Christmas Craft Preschoolers Can Make — In a Nutshell
The gist of this is that you’re going to create a basic tree shape out of popsicle sticks/craft sticks, and glue it together. Once the glue is plenty dry, you’re going to decorate it by gluing things to it and wrapping pipe cleaners around it. If you want to make yours in our “themed” colors to follow along with our Christmas tree tradition, you can do that — or you can make them just for fun, and get wilder with the colors. Let’s talk about what you’re going to need.
What You Need for Tri-Color Christmas Trees

For each tree:
- 4 jumbo craft sticks, natural or green
- metallic pipe cleaners, in red, silver, and gold (Or whatever garland color(s) you want if you’re not doing the tri-color.)
- 10 mm metallic pompoms in red, silver, and gold (Or whatever color pompoms you want if you’re not doing the tri-color.)
- tiny acrylic gems/rhinestones, preferably clear (Or multicolored if you’re not doing the tri-color.)
- tree topper of your choice (sticker, craft foam to cut the topper out from, cupcake topper — whatever you’ve chosen to use)
- (opt.) flat button & string, for hanging
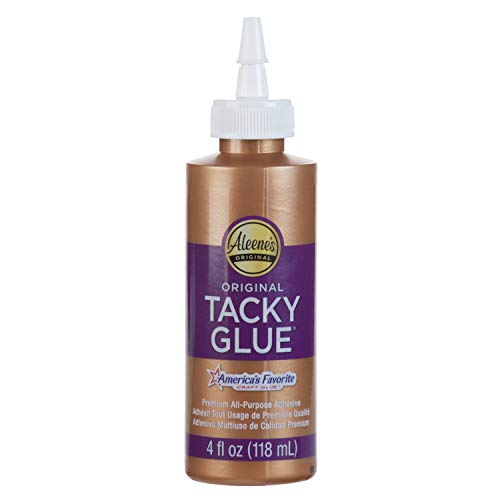
- glue (Tacky Glue seems to be overall the best choice for this.)


What To Do…Almost
I need to make a small detour here to clarify something about the order of the steps. If you’re just making trees for the sake of making trees, then it is easiest to make the tree, then wrap the garland, then glue on everything else. If you’re making the trees to follow along with the Christ in the Christmas Tree tradition, then you’ll want to do them in the order shown below, in order to correspond to each stage.
With that said, let’s get started.
What to Do…Really
STEP 1: MAKING THE TREE
To create the Christmas tree base, glue three of the craft sticks together to form a triangle.
Glue the fourth stick down the center of the back of the triangle, starting at the “point” at the top of the tree and extending straight down to form a trunk. Let this dry thoroughly.


STEP 2: (OPT.) ADDING A HANGER
Cut a piece of string about 5 inches long. Feed it through one button hole then back through the other, and knot the ends together. Glue the button to the back of the tree, where the top sticks come together. Allow to dry.

STEP 3: PUTTING LIGHTS ON YOUR TREE
Glue tiny rhinestones to the tree to represent lights. Remember that other decorations will be added too, so don’t go too crazy!

STEP 4: STRINGING GARLAND
The first layer of color we add to our Christmas tree is red, so if you’re following along with us, grab a red metallic pipe cleaner, and wrap it around and through the tree to look like garland. (Try to end with the ends at the back.)
When you’re totally finished with the tree, you can come back and glue the ends if you want (hot glue works better for this than Tacky Glue), but they’re woven through enough that we found they usually hold okay without gluing.

STEP 5: “HANGING” ORNAMENTS
Now this is where we got a little out of order with our tree. At this stage, you should then glue on some red pompoms, as well. Ours were backordered, so we had to go back and add all the ornaments after-the-fact. Remember that you still have two colors to go, so don’t add too many. If you can have a general idea of where your other garland is likely to go, you can also have an idea of where to put the ornaments.
NOTE: The metallic pompoms really make this project special! But if you can’t find them, you can approximate our three colors with red, yellow (“gold”), and grey or light blue (“silver”).
STEP 6: REPEAT FOR THE REMAINING LAYERS
The next two layers we add to our tree are silver and gold. You’ll add each of these colors in turn, following the same instructions you already used in steps four and five for adding garland and ornaments.

STEP 7: TOP THE TREE
When your Christmas tree is otherwise done, you can add one more finishing touch — the tree topper. When my daughter made hers, she cut a star out of craft foam. If it’s sticky on the back, you can peel just part of the the backing and use the built-in adhesive to attach it to the tree. Otherwise, you can just glue it.


If you really want to make it special (and stick closely to our real-life tree), you can look for silver crown confetti, cupcake toppers, or foam stickers, and use that for your topper instead.


[…] — even a tiny tabletop tree — or even use something like a felt tree on the wall or a popsicle stick Christmas tree project to follow […]