The following project is part of the Jo-Ann Fabric and Craft Stores® Celebrate the Season campaign. I received compensation for my participation; however, this post contains my personal, honest opinions and ideas based on my experience.
What’s a Spooky Space?
When I signed up for Jo-Ann’s Celebrate the Season campaign, and received the theme for this month, I had quite the challenge! The theme was “spooky spaces” – but we don’t celebrate Halloween (which was, obviously, the natural fit) and I was planning to do a Reformation Day-based project, instead. Hmm. My project sort of evolved into more “art” than craft, I think, when I stumbled across my inspiration (which I’ll share in a moment), but I’m hoping there are still elements that will be more broadly applicable (like how to make a heart out of papier mâché).
So…I started browsing the internet for information about Reformation Day, in the hopes that I’d find something that was a good fit. I was envisioning something along the lines of a 1500’s German jail! What I actually found was far worse – in a very different way. I came across this:
Wow. Now that’s scary. It just goes to prove (or remind us) that even the greatest men can carry great ugliness with them. If the truth be told, probably all of us have some dark places in the “hidden corners” of our hearts.
So that’s my spooky space – the dusty, dirty interior of a human heart. Think of it like an old, musty attic.
Making the Heart
Now that I’ve gone all deep and serious on you, let’s move on to the actual craft, shall we? My initial thought was to find a plastic heart among the Halloween decorations and use it as my base. However, much to my surprise, I couldn’t find a hollow, plastic human heart. Not at Jo-Ann where I shopped for my supplies. Not anywhere. So I had to get a bit creative and actually make my heart. As it turns out, that might actually be the most useful part of all of this for most of my readers. If you need a human heart, you can make one out of papier mâché.
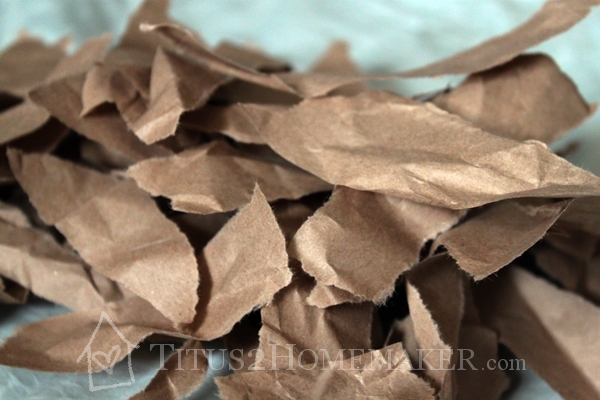
To begin with, you will need a balloon and a few toilet tissue rolls (or paper towel rolls, or whatever – but they need to be bendable). I’m not certain what size my balloon was, because it came in a mixed package, and I don’t know which direction they measure. Blown up, it was around the size of a piece of printer paper. You want an oval-shaped balloon, because that lets you have the narrower portion of the bottom of the heart. You also need torn strips of paper (I used some thin brown packing paper, but newspaper is good, too) and Elmer’s Glue-All or an equivalent white glue.

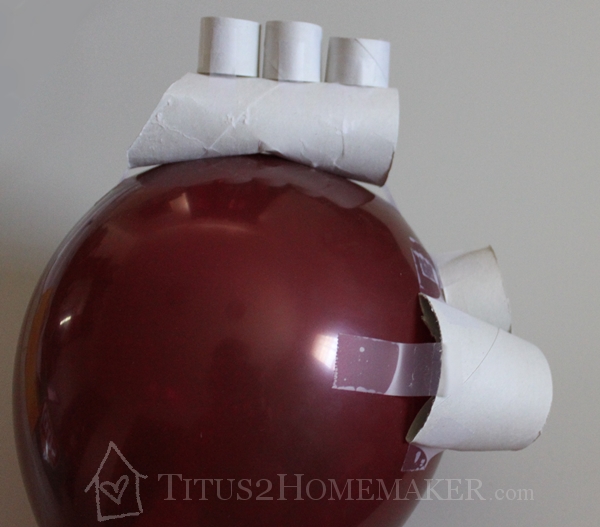
Now you need to form your basic underlying shape. I used an image I found online as my “model,” and taped segments of cardboard tube to the balloon to approximate the shape. (In case I have any nurses, med students, etc. reading this, please note that this is not a perfectly-anatomically-correct replica. It was intended to be close enough to give the right general appearance. If you need something anatomically-correct, you can probably do that, but it will take more fiddling.)
At the right side, I used one segment of tube butted right up against the balloon. I also used one whole tube above/beside it, with the left end tucked under so it would “flow into” the balloon. At the top, I used one tube horizontally, that also “flowed into” the balloon (although I didn’t execute that one as well), and three smaller segments, with pieces cut out so I could roll them to a smaller diameter.
From here on out, it’s not really difficult, just tedious. You’ll be adhering papier mâché strips to the form, but it takes a little bit of finesse to work around the places where the valves/arteries attach, and you need several layers that have to dry in between. So give yourself plenty of time.
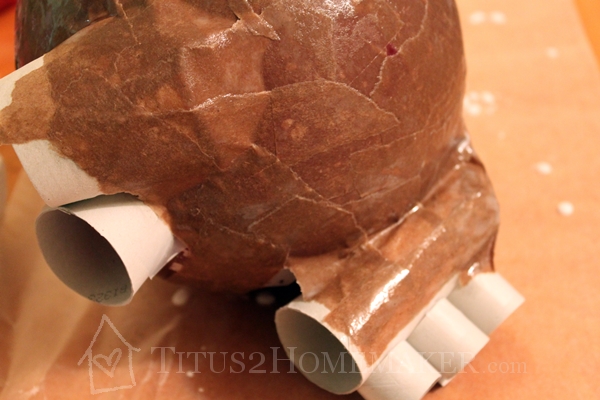
Pour some glue into a shallow container and dilute it with water. I didn’t measure, but I aimed for about 2/3 glue, 1/3 water. Then, one at a time, dip a paper strip into the mixture to coat it thoroughly, “wipe” it between two fingers to remove the excess, and smooth it onto your form. Repeat ad nauseum. Make sure the strips overlap a little, so you don’t have gaps. Cover the whole thing completely, and let each layer dry before adding another. And don’t mix up all of your glue at once, because you won’t use it all on one layer and it will dry out before you get to the next.

It helps to prop it inside an old box or something. And you’ll probably have to do one half, let it dry, then flip it over and do the other half.
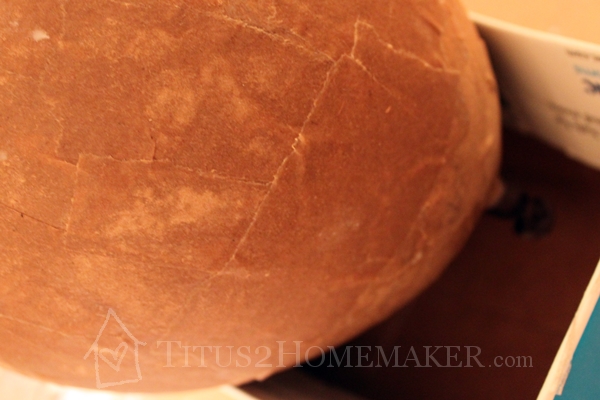 (Because of the paper I used, this is starting to look like a wasps’ nest!)
When you have several layers on, dry, and hardened, you can cut it in half if that is something you’re planning to do. That lets you kind of double up, because you can put a layer on the inside and one on the outside before waiting for it to dry. Be sure you have enough layers first, though, or as the balloon pulls away from the inside of the form, it will “suck” the form inward with it.
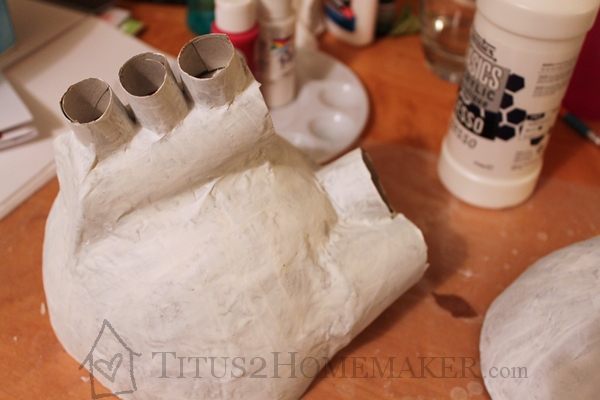
I wanted the outside of my heart to be a bit smoother than the inside, so I painted the outside with a layer of gesso and sanded it just a little. This isn’t necessary. However, it does help the paint to cover better when you’re ready to paint.
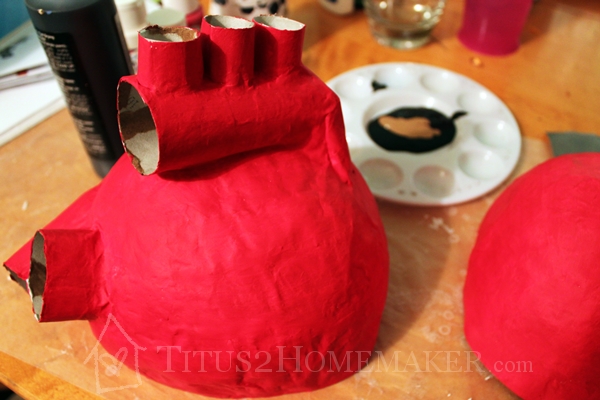
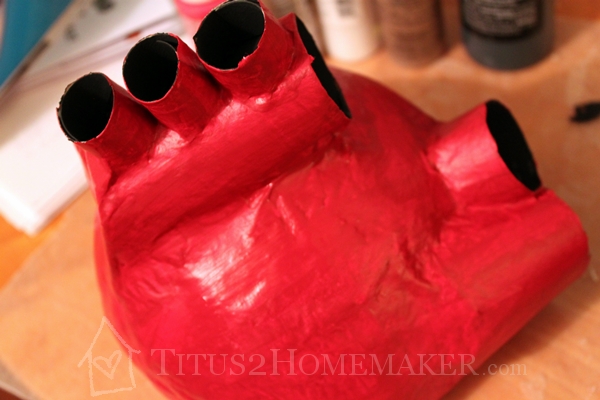
Then it’s time to paint it! I started with a layer of just plain red (craft acrylic). It was too much. Too bright. Weirdly garish-looking. So I went back later and did another layer with a couple drops of black paint mixed into the red, and that was much better.
The inside was painted in black, with a little bit of tan added to “dingy it up.”
And there you have it – a human heart (in two halves).
But what’s the heart like?
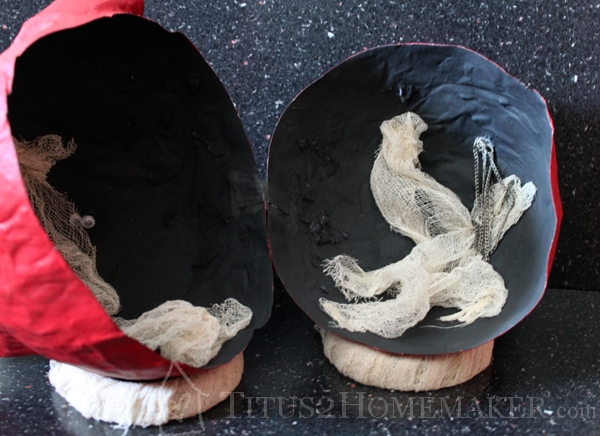
But I still had my spookying-up to do. I painted over some clumps of dryer lint to give a sort of rugged, dusty feel. I added cobwebs of cheesecloth. (I dyed this handful of cheesecloth in a mugful of crazy-strong tea so it wasn’t bright, “clean” white.) And I added some other attic-y things like some old chains, and eyes peering out of the darkness.
It didn’t want to stand up – too top-heavy from the heart valves, and I couldn’t seem to weight it sufficiently no matter what I did – so I wrapped some canning jar rings in extra cheesecloth to give the halves something to rest on. At least that way they weren’t tipping and rolling! And here you have it: the human heart – shiny and “clean” on the outside…and spookily dusty on the inside, with some scary, unsavory things hanging out in the “corners.”


What If I Don’t Need a Papier Mâché Heart?
There’s still something here for you. 🙂 Check out the Jo-Ann holiday catalog (which emphasizes this entire upcoming holiday season, by the way, not just Halloween) for supplies and the Celebrate the Season website for ideas – including projects from other bloggers taking part in this campaign. And when you’re ready to purchase the supplies for your upcoming projects, use this coupon code to save 50% off of one of your items:

(Here’s another page that talks about Luther’s anti-Semitism, in case you want it from a Reformed perspective.)
This post is being shared at Tutorial Tuesday, Whip it Up Wednesday.
Leave a Reply