
Let’s face it: genealogy research can get messy. In short order, you end up with a pile of paperwork, a mess of digital files, or both. There are probably as many methods of organizing genealogy research as there are genealogists, but if you’re staring down a pile of papers you might need a starting point, so I’m going to show you how I organize my genealogy. First I’ll show you how to organize genealogy records in binders, and then I’ll show you how I manage my digital files.
How to Organize Genealogy Records in Binders
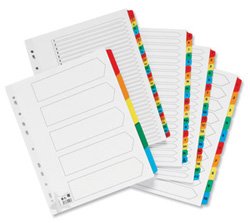
First, let’s tackle the paperwork. My current method uses three binders: one for working notes, one for completed records, and one for documents. If you want to set your binders up like mine, you’ll also need some “regular” dividers (preferably wide enough to be seen past page protectors), a set of alphabetical dividers, and sheet protectors.
And if you don’t already have them, you might need some blank pedigree diagrams and family record sheets in a format that will fit in a binder. (If you don’t already have a favorite, take a few minutes to look over the options and find a family group sheet that’s easy for you to read. It’s helpful to choose one that has an optional “page 2” for additional children in large families.)
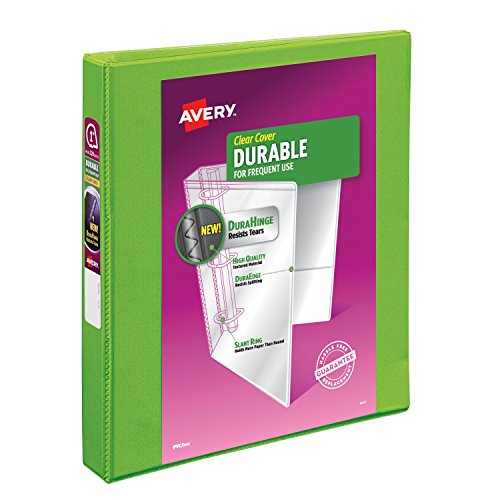
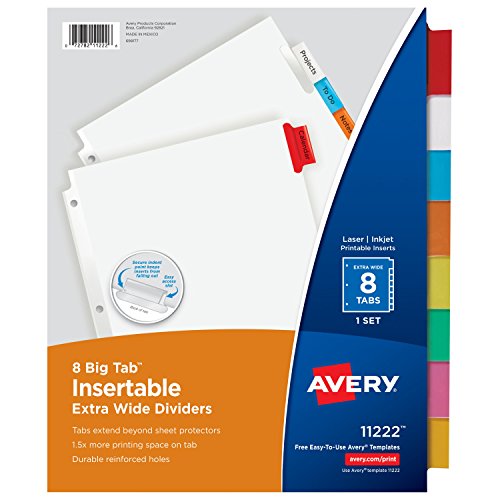
Wilson Jones 1-1/2 Inch 3 Ring Binders, Basic Round Ring View Binders, White, 4 Pack 5 Star Maxi Index Extra-wide 230 micron Card with Coloured Mylar Tabs A-Z A4 WhiteAvery Durable View Binder, 1Samsill 200 Non-Glare Heavyweight Sheet ProtectorsAvery Big Tab Insertable Extra Wide Dividers, 8 Multicolor Tabs


Sort your pages into three stacks, so you can set up one binder at a time. Any actual documents — census records, birth certificates, death certificates, etc. — go in one stack. The pedigree charts and family group sheets go in a second stack. Anything left over (which should mostly be your own miscellaneous notes) goes into the third stack. We’ll start with that one.
Working Notes
This is the binder that can get a bit messy. Although you can bring as much organization to this as you want, this is where you’ll be jotting down the things you’re still figuring out, questions yet unanswered, etc. You may find it helpful to arrange these notes by surname or by location (or some of both), or DNA segment, depending on what you’re working on.
This is also a handy place to keep a section with “tools” such as an Ahnentafel numbering guide, a cousin chart (or DNA equivalent), a Soundex or international phonetic pronunciation guide, translation guides for languages you work with often, etc.
How to Organize Your Completed Genealogy Records
This binder is where you keep your neat and tidy records that have been gathered and compiled. Mine is in two major sections.

The first section is pedigree charts: first a couple of fan charts to allow me to see the “big picture” at a glance, then some “regular” pedigree charts.


The second section is family record sheets.

I’ve first printed off an Ahnentafel report, then sectioned the remainder off into smaller sub-sections based on generation. All that’s in these generation sections is family record sheets. (Remember, this is the tidy book, so if you have a family record sheet you’re scrawling all over as you figure things out, you might want to keep that in the working notebook until you have it sorted, then copy the results neatly and add it to the completed records book.)

In other words, behind one tab would be family group sheets for my grandparents. Behind the next would be family group sheets for my great-grandparents. The next would include family group sheets for my great-great-grandparents. And so on. (I’ve listed the relevant surnames on the front of each divider tab.) [I can’t locate the original source of the family record sheet I prefer, which seems to be attributed to Mitch Roll. Here’s the blank version I retyped based on that, though. If anyone can point me to the original, I’d love to link it up! For tracking individual information, especially for your immediate family, this All-in-One Worksheet is also AMAZING.]


On the back of each family record sheet, I have listed what historical records I have, or have accessed, that provide proof. If it’s a census, I also list the surname as spelled on that census, as well as the locale, so it would be easy to look back up. If it’s a birth or marriage record, I put the state abbreviation beside it — again, so it would be easy to retrieve again. If it is an online-only record, I make note of that so I know not to try to dig for it in my personal files.
How to Organize Your Genealogical Documents
I also needed a way to keep track of document that help back up the data: birth certificates, marriage records, naturalization paperwork, etc. These can be filed, but I prefer them in a book format because it’s easier for me to flip through them that way, especially when I need to compare the information for research. To set this up, you’ll need a third binder (size will depend on how many records you have), acid-free page protectors, a set of extra-wide A-Z tabbed dividers, and (optionally) blank return address labels.

Put the tabbed dividers in the binder. Then insert each document in a page protector. It’s up to you if you want to double up (back-to-back records in the same sheet protector). I prefer to do this only if the records placed back-to-back pertain to the same person. File the page-protected documents behind the tab that corresponds to the primary surname represented on the document. (Where it’s known, I keep women’s records filed under their maiden names, even if the documents are post-marriage, because that keeps all of one individual’s documents together.)


If you like, you can also adhere an address label to the upper-right corner of each page protector, and label it with the surname. That can come in handy once you have a multitude of documents, so you don’t have to read each one to determine who the record is for. You can certainly get by without this, though.
If you find you have documents pertaining to a location, rather than a person, you can either file them the same way in the same sections, or you can add a few extra tabs at the back of the book and label them with locations.
Documents of lesser value, like census record printouts, you may choose to simply punch before placing in the binder, rather than using page protectors. If the records are easily re-located and printed, you might want to go this route so as to save on page protectors. It is, of course, up to you.
What to Do About Correspondence Records
With this 3-binder setup, what do you do with records of correspondence? There are different ways you can do this, and the most important thing is that you choose whatever is most logical to you. What makes most sense for me is to keep a log in the documents binder of requests for documents, and keep notes about correspondence with individuals or other research questions in the “working notes” binder.
How to Organize Genealogy Files (Digital)
What about how to organize digital genealogy files? Overall, my digital records are organized much like my paper records. My one broad “genealogy” folder is divided into several major sub-folders.

Okay, let me break this down a little. I’ve marked the folder into sections here for ease of reference:

The “Bulk” Genealogy Folders
Ignore the “Fam Doc Scans” folder circled in grey. That’s a temporary folder of documents I scanned in from my hard copies and haven’t had a chance to move to their proper folders yet; it isn’t part of my regular organization.
Also ignore all the un-circled folders — for now. I’ll come back to those in a moment. Let’s talk about the folders in the rounded grey box. These folders are where everything but “documents” live. “Data files” is for my DNA data, genealogy software backups, downloads from Ancestry, etc. “DNA matches and collaboration” contains lists of DNA matches and that sort of thing. (If you don’t do DNA research you won’t need this one, obviously.)
“Gen-correspondence” is copies of emails, copy/pasted forum discussions and the like that are the digital versions of my “working notes.”
“Gen-tools” is genealogy software downloads, blank forms, reference information, etc. Essentially, this is anything that is about genealogy but is not my genealogy.
“Gen-unsorted files” is probably largely self-explanatory. I just created this file to help contain the “mess” caused when I’ve been downloading a lot of documentation during a research spree at Ancestry or something like that, and I haven’t gotten around to coming back and “filing” everything. Think of it as the “inbox” for my genealogy files.
And finally, “Our Story,” which contains information more specific to my own immediate family and direct lines. I’ll talk a bit more about that in a moment.
Organizing Digital Genealogy Documents
When doing digital genealogy research, you end up with a lot of digital documents (birth records, death records, census records, etc.). That’s where the remaining (uncircled) folders come in. Essentially, I organize these the same way I organize the printed documents.
Within the main genealogy folder are subfolders, one for each letter of the alphabet* and a few for specific locations. When I download or scan a document, I prepend it with the primary surname in all caps, and file it in the relevant alphabetical folder. (As with the printed documents, I file women under their maiden names.) This makes them easy to locate when I need them.
*You might notice that I don’t literally have one for every letter of the alphabet. I don’t see any point in having an empty folder, so I’ve only created folders for the letters I actually have documents for.
The location folders contain things like maps of the areas my ancestors were from.
Organizing Our Story
There’s one more important factor to discuss: files for your family tree. I use, primarily, three digital tools for managing my genealogy. I build my tree with Ancestry.com and RootsMagic software. At Ancestry I’m a bit more experimental (not totally random, but the way trees and DNA interact on the site allows for testing theories, so I’m a little looser with the tree there), and carefully-documented with RootsMagic. I also use GenomeMatePro for working with DNA matches and organizing that data. (If you download GMP, I highly recommend joining the user group on Facebook.)
RootsMagic will attach documents and images to individuals in your tree, but there’s a catch. It doesn’t move them into the database; it links to them. That means if you move the files, the software will no longer be able to find them. In other words, it’s pretty important to know beforehand where you’re putting these files and set them up the way you want them.
That’s where my “Our Story” folder comes in. Within this folder, I have a sub-folder for each household (family group), and a folder for each individual in my immediate household. These contain any images or documents that I want to be attached to the family tree in RootsMagic. (The immediate family folders are also a good place to keep track of important information that might need to be replaced or referenced in case of emergency.) This way it’s all tidily packaged together and would be easy to move en masse if I ever needed to move this information. (It’s also easy to back up en masse.)

I’m having trouble creating a Fan Chart on one piece of paper. How did you create yours?
I’m sorry for the delay. The fan chart I have is one I downloaded that’s designed to fit on a regular sheet of paper, but I was having trouble tracking down where I got it. You can get it here: http://dept.cs.williams.edu/~bailey/genealogy/index_files/PedigreeFanChart.pdf I’ll update the post, too.
Wow! this is the best genealogy organizational information I have looked at so far. You have put everything in perspective in such a way that even I can understand. Thank you.