
If you’re reading this post, you might be already wanting to unmount your wooden-block stamps, and just aren’t sure how. But maybe you don’t know why anyone would want to do this. So real quickly, before I talk about how to unmount rubber stamps, let’s talk about why to unmount rubber stamps.
Why would you want to unmount your rubber stamps?
This is obviously a personal preference. You bought stamps on wooden blocks for a reason, and if that’s working well for you, there’s no need to go to added effort or expense to do anything to change them! But there are a couple of distinct benefits of unmounting them and instead prepping them for use with acrylic blocks (much like clear stamps).
1) It saves space.
This was my primary reason for unmounting my stamps. Those wooden blocks are bulky. Meanwhile, clear stamps store very compactly because they don’t have them — you can literally just file them. The multitude of books at our house mean space is at a premium!
What you see on the left here is all of the leftover blocks that I no longer need (and our phone as a size reference between the two images), and on the right is the finished stamps.

2) You can use them in a stamping platform.
The primary driver for some people; this is a side benefit for me. A self-adhesive, flat stamp can be used in a stamping platform, which allows for restamping if you miss a spot, need fuller coverage, or want to use certain techniques — like stamping with clear embossing ink directly on top of a colored stamped image.
(Note that my second, less expensive method here might not be as effective for this purpose, as they seem to be a little less “sticky” than I think the “real” ones are.)
How to Unmount Rubber Stamps
Now that we know why to unmount them, we need to know how to do it. It’s pretty simple, but the details of execution are a little more complex.
The short version is that you peel them off their blocks, then attach foam (if necessary — some already have it; others don’t) and attach a backing that makes them adhere to the acrylic blocks.
That backing is the potentially tricky part.
The “official” way to do it is to buy a specialty film that’s purpose-made for this.
Crafter’s Companion EZMOUNT02-10Mount Static Cling Mounting Cushion, 8.5 Crafter’s Companion EZTHIN-10 EZMOUNT Thin Static Cling Mount (8.5


Crafter’s Companion – EZ Mount – Static Cling Mounting Foam – 0.13 Inch Thickness – Pack Crafter’s Companion – EZ Mount Stamp N Store – Static Cling Mounting Foam – 1/8 Inch Thickness, 1 Sheet
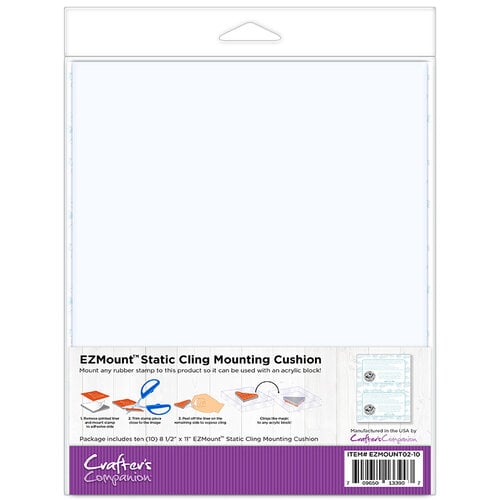

It comes in two different versions: one with built-in foam; one without (so you can use it with stamps that already have foam attached or those that need it). The downside is, it’s really expensive. A package is close to $50 — and if you need both types, you need two packages, because they don’t (to my knowledge) have a mixed package. (That would be a really good idea, actually. Crafter’s Companion, you need an assortment pack!)
Sometimes, you can find sellers selling 1 or 2 sheets. This is still pricey per sheet, if you just need one, it can be the better option. Scrapbook.com sells single sheets, too. (That’s what the second SDC link is above.)
So if you want to use this method, it’s pretty straightforward: buy the appropriate EZ Mount sheets, peel your stamps off of their blocks, reattach them to this self-adhesive film, and trim off the excess.
How to unmount rubber stamps — the DIY way
Or you can hack it with method #2 — the DIY way. This is probably most cost-effective for those who have a moderate number of stamps — too many for a single sheet of EZ Mount, but not enough to use up most of a 10-count package.
(This is, by the way, not my own unique idea. I got it from a YouTuber, and tweaked it.)
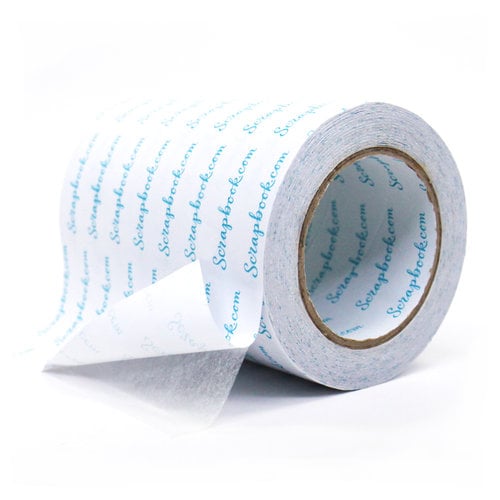
I used a Scrapbook.com adhesive that came on a 6″ wide roll. If you’re buying this from scratch, it will greatly increase your initial outlay (‘though not the cost per sheet), but you’ll have a lot left over — and you definitely don’t have to use this particular adhesive. I used it because it’s what I already had, and some sort of double-sided adhesive is probably your best bet. But even the very same adhesive comes in various configurations, so you can buy whatever makes sense for you — or just use what you already have. (I’m guessing if you have a heap of rubber stamps, you probably also have other craft supplies on hand…like adhesives.)
6″ roll (81 feet)4″ roll (81 feet)8.5×11″ sheets (5 sheets)Variety Pack


Altogether, you will need:
- vinyl cling film (it’s sold for making window clings)
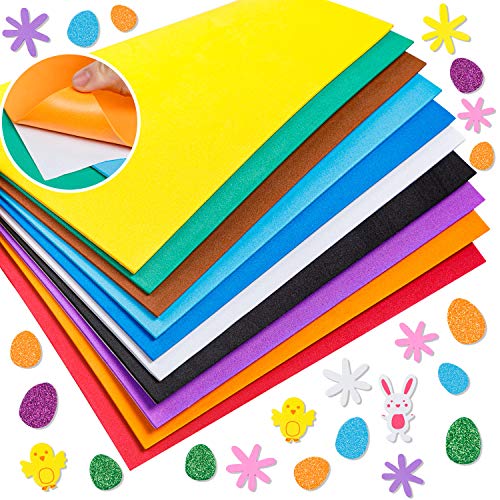
- craft foam (if your stamps don’t already have foam attached; I recommend looking for a thicker foam, like 2mm+, and self-adhesive is helpful)
- strong double-sided adhesive
- (opt.) Staz-On ink (if you want to stamp the stamp images onto the vinyl backing)
- (scissors)
- (craft knife, razor blade, or box cutter – maybe)
I paid:
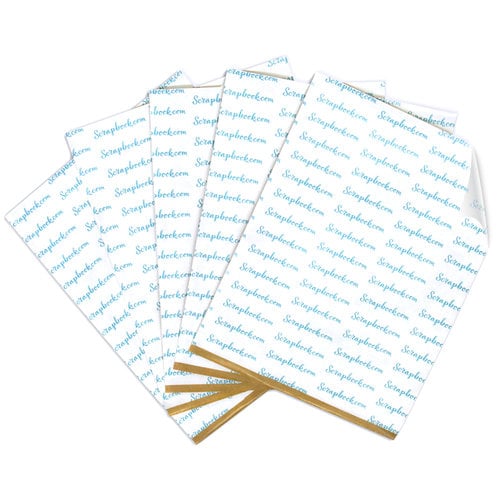
$7.79 for 6 sheets of cling film (1.30/sheet)
$5.87 for 10 sheets of 2mm foam w/ adhesive backing (could have gotten it cheaper per sheet in a larger package) (59 cents/sheet)
$35.99 for a roll of 6-inch-wide adhesive, 81 feet long (59 cents/page)
…for a Total of $2.48/sheet — or around 40-50% of the cost of the “real” ones.
This is what I used (minus the Staz-On, which I’ll talk more about later):
6″ roll of double-sided adhesive (81 feet)2mm Thick Craft Foam Sheets, and Easter Foam StickersGrafix 9-Inch-by-12-Inch Cling Film White, 6-PackStaz On Ink Pads – Jet Black

I think you can probably also use the kind of film that’s made to cling to windows to frost them for privacy purposes, but I found it a bit difficult to tell from the listings of the smaller rolls if they were repositionable vinyl or just adhesive-backed. If you happen to have some of this around from a household maintenance project, try your scraps — this might be a much less expensive way to go.
My Process Step-by-Step
(Optional) STEP 0: Stamp the vinyl.
If you plan to stamp the vinyl, and you’re prepared enough to have all your supplies in advance, it may be easier to stamp the vinyl now, while the stamps are still attached to their blocks. See step 4 for more detail, and then return to step 1.
STEP 1: Remove the stamps from the blocks.
It’s simpler to do this “all at once,” in bulk. But it’s kind of hard to do it literally all at once. This was really hard on my hands, and actually tore up my “peeling” fingers.

I expected that the really good stamps would be hard to disassemble and the cheap stamps would be easy — that they’d basically all but fall apart because they were glued poorly, but I found that almost the exact opposite was true. Most of the nicer stamps peeled off pretty cleanly and fairly easily (perhaps because they were attached very firmly to their foam), but the cheap stamps gave me a lot of trouble.
A couple required resorting to the careful use of a blade to scrape them off. (If you do this, be really careful not to poke holes in your stamps — besides, obviously, not poking holes in you!). Angling the blade slightly toward the block can help. These were definitely the exception, though. I think I had maybe two or three small stamps that were this much trouble. Most of them just took more elbow grease for peeling, at most.
STEP 2: Add foam (to stamps that don’t already have it).
The majority of my stamps actually already had foam on them, of varying types/thicknesses.

As long as the foam peels off the block cleanly with them, you do not need to add foam to stamps like these. A few of mine didn’t have foam, or had excessively thin foam, and these should have foam attached to the backs of them.
A few were thick red rubber stamps, like this one (which I think doesn’t have foam; I’m not actually 100% sure it doesn’t just have fairly dense red foam). Most were exceedingly thin, cheap stamps.

The simplest way to do this is to just use a piece of adhesive-backed craft foam. Trim it roughly to size, peel off the backing, and stick your stamps on. I don’t seem to have a picture of this step, but I do have a picture of a group where I sort of combined this step with later steps.

Trim the excess off. You don’t want any of the excess adhesive sticking off to get stuck to things. (This step is more finicky with some stamps than others.)
This can actually be a good time to trim off some of the rubber from some stamps. If you look at the two stamps in the bottom left of my image, they make for a great comparative example. The “I love you” stamp is already trimmed pretty close to the image; there’s little I could — or would want to — do in terms of trimming that further. (The stamp itself, I mean. The foam needs trimming.) But the little square stamp in the very corner…that has a lot of excess rubber surrounding the image, and you can see where it’s picked up ink during use. It’s best to actually trim those corners off.
STEP 3: Add adhesive.
If your stamps started out with foam attached, you can skip the previous step and roll right into this one. If they didn’t, attach the foam as in the previous step and then move on to this. Add double-sided adhesive to the back of the foam.
I found sheet-style adhesive like I used — that will cover the entire back of a stamp — pretty easy. But if you already have something like permanent tape runners or strips of double-sided adhesive, definitely go ahead and try that. You just want something that’s going to be strong and smooth. I did mine in batches, like this:

Fair warning: this Scrapbook.com adhesive is very sticky, and not very forgiving. It will stick to everything if you’re not careful, so don’t work with too much of the roll at once. I did probably somewhere in the ballpark of 6- or 7-inch lengths, so it wasn’t enough to roll up on itself or anything.
Optional STEP 4: Stamp the vinyl (if you didn’t do it before).
If you’re going to stamp the vinyl backing (which is totally optional), you need to do it now, before the vinyl is attached to the stamps. (I know, when I say it that way it probably sounds ridiculously obvious. But it isn’t necessarily so obvious when you’re halfway through the process and haven’t worked through all the steps yet!)
I was sure I had Staz-On ink, going into this project. But when I reached this point, I could find it. I don’t know if I misplaced it, if it got old and I threw it out (and had forgotten), or if I misremembered and didn’t have it in the first place, but…I didn’t have it available for this project. What I did have was Ranger Archival ink, so I tried that.

As you can see, my impressions are pretty imperfect. It’s rather tricky to stamp with a stamp that’s attached to nothing, on a slippery surface where you’re trying not to let it slide. Most of them at least indicate the stamp’s identity and (assuming I attach them properly) orientation, so they’re functional.
After about 20 or 30 minutes, it didn’t “lift”…but it does smudge. They say it should be heat-set on things like glossy cardstock, so I tried gently heat-setting it, but there’s only so much heat-setting you can do on vinyl because it will melt. So this didn’t really set up as permanent/smudge-proof, and I wouldn’t recommend it.
(Other things that might cross your mind, but which, of course, won’t work, are covering the stamped images with something like clear tape, or peeling the labels off the wood blocks to attach to the unmounted stamps. Since these would cover up the cling vinyl, they’d defeat the purpose. Again, probably obvious, but not always so much when you’re in the heat of the process.)
Let’s pretend, though, that you actually have Staz-On ink, and can continue this process with a stamped image. At this stage, you would stamp the images onto the vinyl with the Staz-On. Leave a fairly comfortable cushion around your stamped images, because you’re probably not going to get these perfectly lined up later, and you don’t want to have uncovered adhesive. (Ask me how I know.)
Leave them to dry for around half an hour, because even though it’s permanent ink, it will take a little bit to set on the slick surface.
STEP (4 or) 5: Attach the stamps to the vinyl.
If you’ve stamped the vinyl, you’ll definitely want to trim these down first (remember to leave that cushion, though!). If you didn’t stamp them, you can cut them out individually like this, or you can just pop a bunch of them on at once and then cut them apart.
If your vinyl is stamped, be careful to ensure the stamp and the vinyl are both facing the proper direction. You’ll confuse yourself if you put the image on upside-down. I laid mine out like this, so I could see it:

…and then flipped it.

With the backing peeled off of the vinyl, remove the backing from the adhesive on the stamp, line the vinyl up as well as you’re able, and then carefully lay it into place and smooth it on.
Remember what I said about the Scrapbook.com adhesive? You will not be able to reposition this, so get it lined up as well as you can before sticking anything down.
Then trim the excess.

(See how badly that smeared? Yuck.)
If your vinyl isn’t stamped, this step is a lot less finicky. Peel the backing off the adhesive.


Stick it to the vinyl sheet.

Roughly cut it out so it’s by itself.

Trim it to fit.

Then peel off the backing from the cling vinyl.

Because you don’t have to line anything up, you also can just pop a bunch of the stamps on at once, then cut them apart and trim them down.

(Cutting all of this self-adhesive stuff, your scissors will get sticky. I cleaned mine two or three times throughout the process by rubbing them down with rubbing alcohol.)
For reference, altogether, I used less than a sheet of foam, and just over two sheets of cling vinyl. (After using up the second sheet, I had three stamps left.)
The End Result
I tested several of these out afterward, and they worked great. In fact, some of them worked better for me than when they were attached to their original blocks. (I think it helps being able to see if you’re pushing down on a corner or something.)

(Yes, I’m stamping on a clipboard on my living room floor.)

You can see a little bit of orange foam peeking out here, so you can tell this is a stamp I added foam to.
Some of them stay stuck better than others. It appears that a few of the longer stamps curled up a little being peeled off their wooden blocks, so the ends like to lift off the acrylic blocks a little. You might have to keep any eye out to make sure you don’t drop any on a project. But with care, these stick pretty well and are usable with the blocks. The smaller stamps didn’t give me any issues with sticking.

[…] (I’m also curious about those pop-style phone stands, if they would work.) If you’ve unmounted your wooden stamps, a leftover large stamp block might work well, too. Just add a felt furniture pad — or […]