Sealed Air sent me a few goodies to help make the projects in this post possible.

Today is Bubble Wrap Appreciation Day.
Yep, that’s an actual thing. Bubble Wrap was created by Sealed Air almost five decades ago and over the years it’s become a fixture. Last year when Sealed Air came out with a new product, rumor had it Bubble Wrap would no longer pop — which would, of course, be very sad. (Everybody likes to pop Bubble Wrap, right?) Well, the rumors were just that — rumors. Bubble Wrap still pops. And today is the 15th annual Bubble Wrap Appreciation Day. Check out the activities below (and/or create your own), join in the fun, and help make it an internet community affair by sharing your fun on social media with the hashtag #BubbleWrapDay!
Bubble Wrap Has a Special Place in Our Hearts
I know; that sounds cheesy, but it’s kind of true. We have an inside joke about the high value of Bubble Wrap, due to sheer procrastination. When Michael and I got married, we received an ornate gold frame. We didn’t have the picture we wanted to put in it yet, but we went ahead and hung it on the wall as a placeholder. Sandwiched between the glass and the cardboard backing, the frame contained a sheet of Bubble Wrap, intended as a spacer to keep everything from jiggling around. So we essentially had this piece of Bubble Wrap framed in this super-fancy frame, right with all the other important things on our wall. It quickly became a joke and, just like Bubble Wrap itself, it stuck.
Popping Bubble Wrap
Our favorite thing to do with Bubble Wrap is pop it. My kids especially like to pop it by stomping it. This little video is of my oldest daughter many years ago. (There is, unfortunately, no sound, because our camera at the time didn’t record audio.)
Especially in honor of Bubble Wrap Appreciation Day, you can even get a little desktop Anti-Stress Box, just for popping!

Family Fun with Bubble Wrap
But surely we can get more creative than that, right? Check out these guys with their Bubble Wrap Battle! (My kids and I had a blast just watching them.)
I thought this Bubble Wrap run looked like a lot of fun, especially for the toddlers.
And at our house, we will be playing hopscotch today on a Bubble Wrap hopscotch “board.” (I turned the Wrap bubble side down to make it easier to write on.)

Bubble Wrap Art
Most of our Bubble Wrap fun, though, revolves around art. We found several different ways to make art with our Bubble Wrap and want to share them with you. (Note that Mama did all the examples here, for scheduling reasons. But all of these are kid-friendly projects, with varying degrees of help.)
We started with snowmen, because with almost three feet of snow falling this weekend, we had snow on the brain! There are two versions. The first is this little 3-D guy. (Ideally, we would have added some twig or toothpick arms and a scrap hat. But being snowed in and with all our twigs buried under snow, his “accessories” will have to wait.)

Step 1: Carefully cut out a row of three bubbles from a sheet of the large Bubble Wrap. (This part is a job for Mom or Dad. It’s a little tricky cutting these out, and you might have to sacrifice the surrounding bubbles so you don’t compromise the ones you’re working with.)
Step 2: Set your three-bubble strip on a piece of paper, beside where you want your snowman to end up. This is going to help you gauge the size and spacing to use as you draw your snowman’s features. I strongly recommend fine-point markers here (I used PaperMate Flairs), so the color is bold enough to show through later.

Step 3: Turn the Bubble strip so the bubbles face down, and outline each bubble in gel glue. Then gently, but firmly, press it into place atop your drawing.

Step 4: Enjoy as-is, or glue small twigs or toothpicks in place beside the snowman and a hat atop his head.

Our second snowman is a painting. This is my oldest daughter’s favorite! You’ll need both large and small Bubble Wrap, blue paper, and white paint, as well as a sponge dauber or something for daubing on the paint. (You’ll probably also want markers for adding detail later.)
Step 1: Cut a piece of the large Bubble Wrap into a three-bubble strip, as you did for the previous project.
Step 2: Using a sponge dauber or something comparable (in the photo below you can see the chunk of old foam I used), spread white paint on the bubble side of the Bubble Wrap. Then flip the Wrap over and press it into place on your paper to form the snowman’s body.
Step 3: Again using your dauber, sponge white paint onto the bubble side of the smaller Bubble Wrap. It’s better if you’re not too perfect with this one. Now flip it over and press it into place along the top of the paper.

Step 4: Once the paint is fully dry, add features to the snowman with markers.

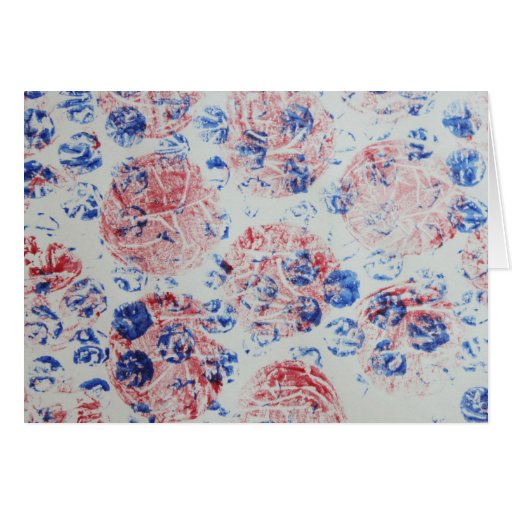
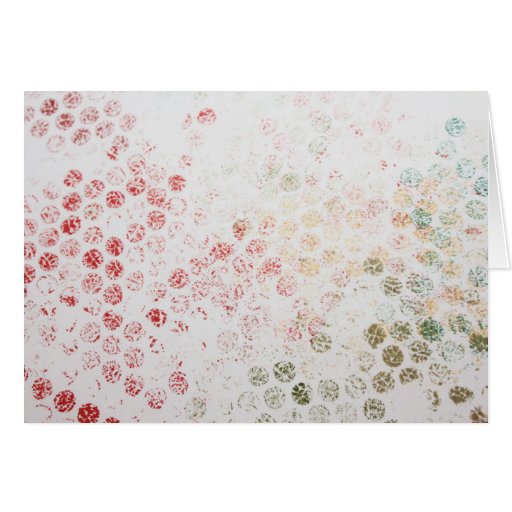
Besides the snowmen, we also made a variety of prints. The principle for all of them is the same; there are just some minor variations in how we carried them out. You can use paint or you can use ink. The basic idea is to paint (or ink) the bubble side of Bubble Wrap and use it to print the paper — just like we did for the snowman painting above, but freeform.
If you want to do multiple colors, you have the option of either inking/painting and printing one color, then adding the next, and so on, or of using multiple colors of ink or paint to coat the Wrap, then printing it all at once. Here are some of the prints we made.

Okay, that was not a print. This is what the sheet of Bubble Wrap looked like after daubing it with paint. Then we used it to make prints. (You can either lay the paper on top, or you can lay it face-down on top of the paper. Up to you.

And again, with the bigger Bubble Wrap:

More of a closeup of the print:

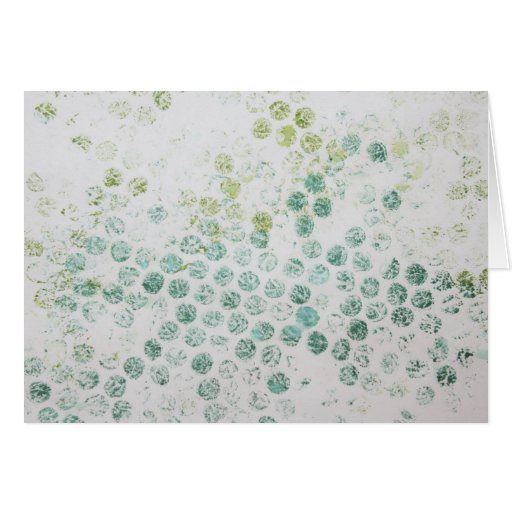
Another thing we tried was printing with big bubbles, letting it dry, then printing on top with smaller bubbles. Here’s what the first layer looked like:

And then a second layer was added.

With ink, you don’t need a dauber. You can just dab the ink pads right on top.


Closeup:

And another ink print:

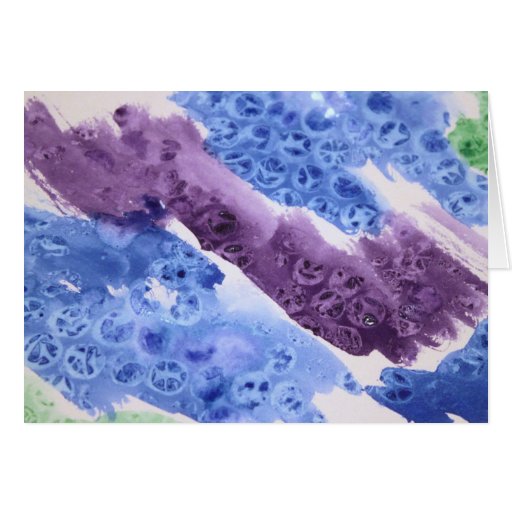
I almost forgot! There’s one more art technique. This one uses watercolors. (Just plain old school watercolors are fine.)
Step 1: Paint with your watercolors on watercolor or similar paper, and make sure you leave the painting plenty wet. (Abstract images work best for this technique.)
Step 2: While the paint is still wet, press a sheet of Bubble Wrap, bubble side down, onto the painting. You might need to either hold it in place for a bit at first, or set something (not too heavy — don’t want to burst the bubbles!) on top to hold it in contact with the painting. Let it dry (at least most of the way).

Step 4: When the painting is dry — or at least mostly dry — you can remove the Bubble Wrap. (If it’s not quite dry, obviously leave it, then, to finish drying.) You should see areas of darker paint where little puddles formed against the Bubble Wrap bubbles.

These are particularly good for creating textured backgrounds for art journaling pages and the like. Or crop out your favorite sections. You can see here how I’ve put some of this art to work as note cards:
Double Bubble Note Card Ink Again Greeting CardBlue Noon Greeting CardWatercolor Bubbles Note CardWatercolor Bubbles Metallic Greeting Card

Have you come up with your own Bubble Wrap activities? Please share in the comments so we can enjoy them, too!

We love painting with Bubble Wrap, but I’d never thought to press it into the wet paint like you did for the last project – very cool!
I’ve seen it done with crumpled plastic wrap. Pinterest for the win!